


How to Choose a Water Softener for Your Home

Hard water can leave spots on dishes, scale in pipes, and dry out skin. The biggest mistake homeowners make is skipping the first test. Below is a step‑by‑step plan that gets you the right softener without guesswork.
Table of Contents
Step 1: Test Your Water Hardness
Start with a simple hardness test. The easiest method uses a bottle, pure liquid soap, and a shake. If the water foams poorly, you likely have hard water. For a precise number, grab a test‑strip kit from a home‑center. The strips change color to show grains per gallon (GPG) or parts per million (PPM).
When the kit gives you a number, compare it to the USGS hardness scale. The scale classifies water as soft, moderate, hard, or very hard. Orange County homes often fall in the hard to very hard range, which means a full‑house softener will make a noticeable difference. Knowing the exact number helps you size the system correctly.
Professional help can save you time. Primewest Plumbing offers a free on‑site water test and will explain the results in plain language. Their technicians know the local water profiles and can point you to the right capacity.
Step 2: Determine Household Water Usage
Next, figure out how much water your household uses each day. A common rule multiplies the number of residents by 80 gallons, the average daily use per person. Then multiply that total by your hardness level in GPG. The result tells you how many grains of hardness the softener must handle daily.
For example, a typical four‑person household with moderate hardness will require a softener sized to handle several thousand grains per day. Selecting a unit with an appropriate capacity ensures regeneration cycles are spaced comfortably apart for most homes.
Pro Tip:Look at your water bill to confirm usage. If the bill shows high gallons, you may need a larger unit to avoid frequent regeneration cycles.
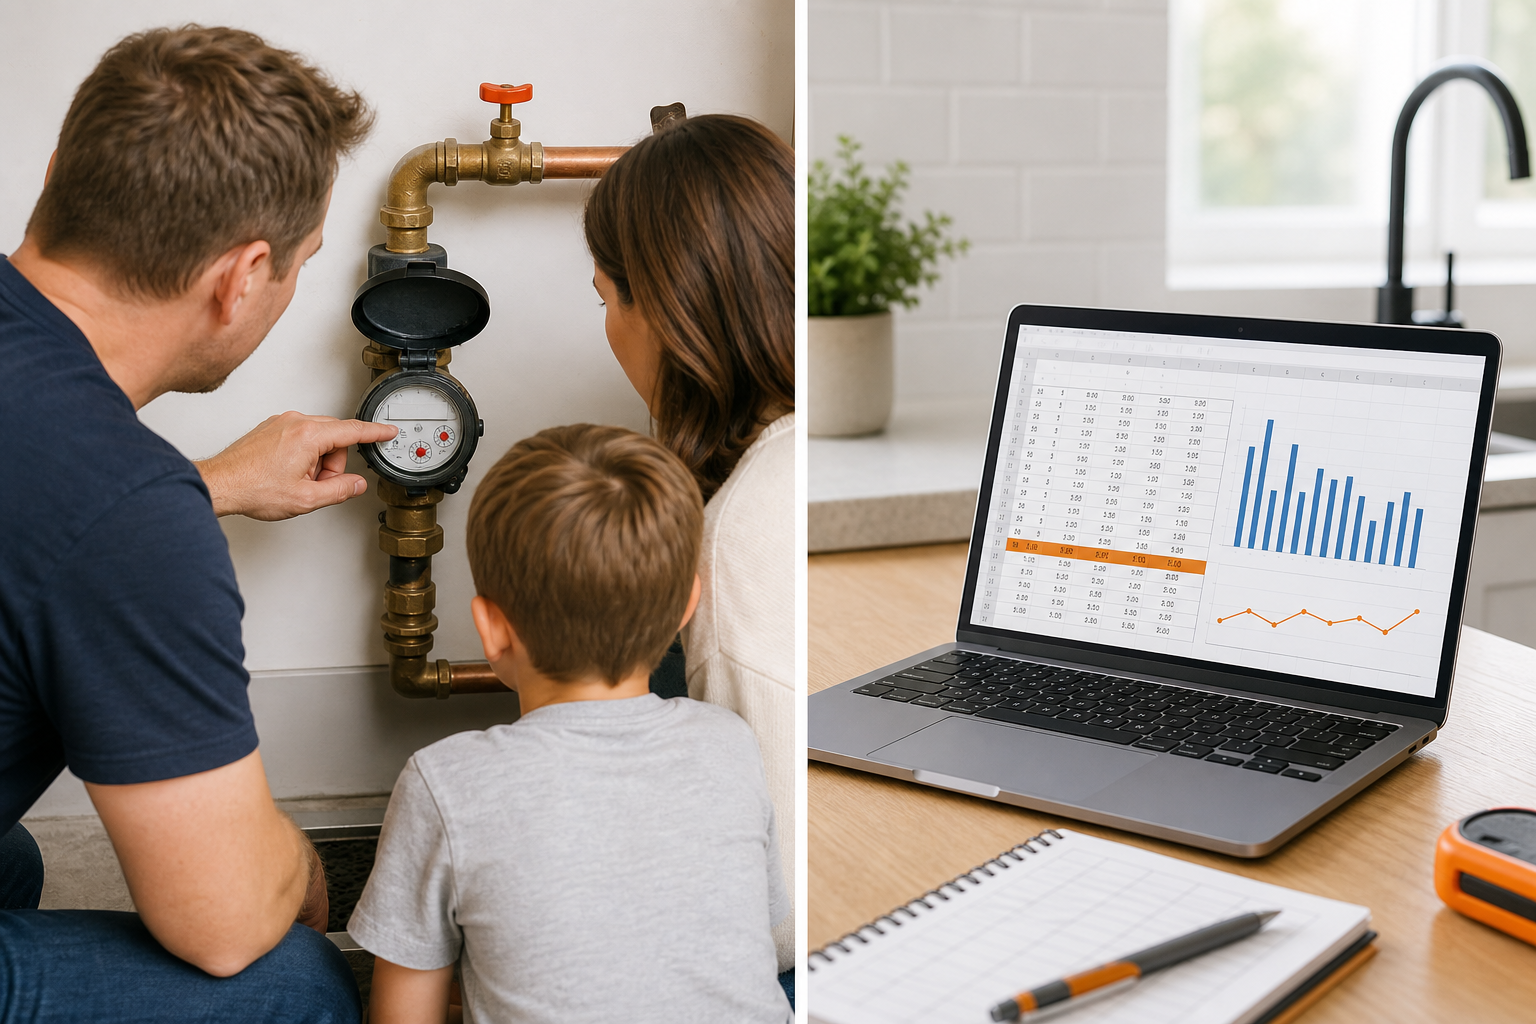
Primewest Plumbing can review your usage patterns and suggest a capacity that matches your lifestyle. Their experience with Orange County homes means they know when a dual‑tank system makes sense for larger families.
Step 3: Set Your Budget and Evaluate Costs
Now put a price on the project. The unit price varies based on capacity and features, and installation costs depend on the complexity of your plumbing. Salt‑based systems also have ongoing expenses for salt and periodic regeneration.
Salt‑free conditioners avoid those recurring expenses but usually cost more upfront and don’t remove minerals, just prevent scale. If you have very hard water, the long‑term savings from a salt‑based unit often outweigh the higher operating cost.
When budgeting, include a bypass loop if your home lacks one; adding this component represents a notable portion of the installation expense for older houses.
Overall, total spend for a typical family can span a broad range. Use this guidance to set a realistic budget before you start shopping.
Key Takeaway:Factor in both unit price and long‑term operating costs to avoid surprise expenses later.
Primewest Plumbing can provide a detailed quote that breaks down equipment, labor, and any extra plumbing work. Their transparent pricing helps you compare offers from other installers.
Step 4: Choose the Right Type and Size
With hardness, usage, and budget in hand, pick the system type. Salt‑based ion‑exchange units remove calcium and magnesium completely. They need regular salt replenishment and generate brine waste.
Salt‑free conditioners use Template Assisted Crystallization (TAC) to keep minerals from sticking to pipes. They keep the minerals in the water, so the water still tests as hard but scale is reduced. This option works well for moderate hardness and avoids brine disposal concerns.
Dual‑tank (twin‑tank) models run continuously because one tank regenerates while the other supplies water. They are ideal for large families or homes with high demand during peak hours.
Consider the space available in your utility area; larger dual‑tank or high‑capacity units require more room, while compact models fit tighter installations.
For a deeper dive on the pros and cons of each type, see our detailed comparison guide.
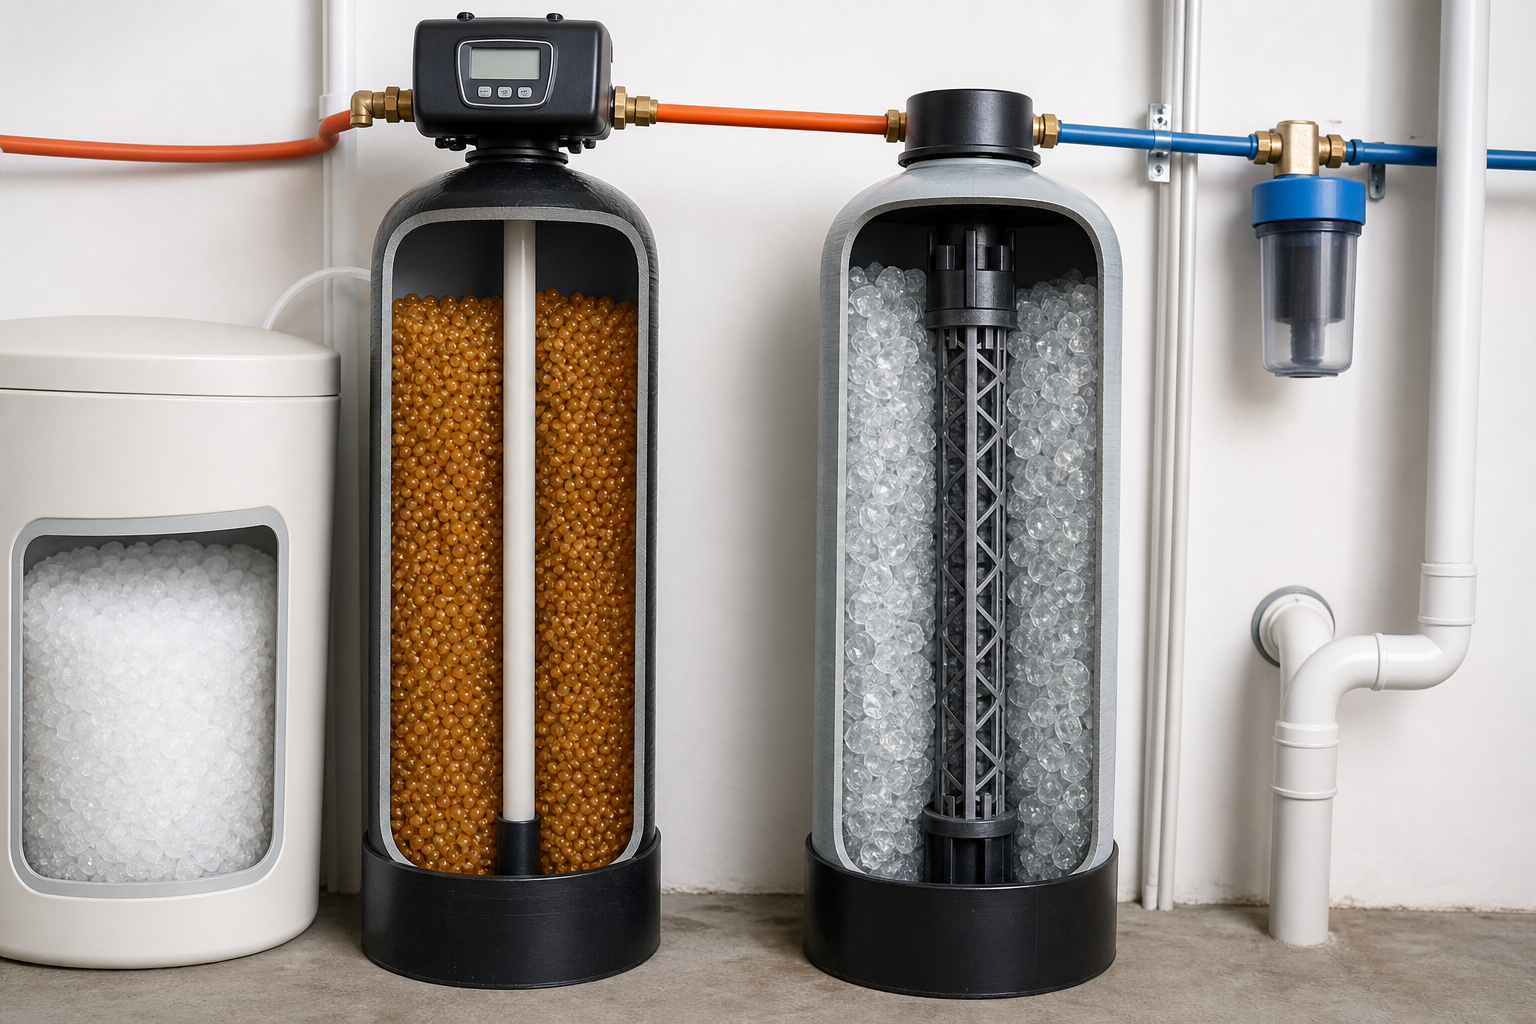
When you’ve settled on a model, let Primewest Plumbing handle the installation. Proper setup guarantees warranty coverage and optimal performance, a point all experts agree on.
FAQ
What hardness level requires a water softener?
Any water above 7 GPG can cause scale, but most homeowners install a softener when hardness exceeds 10 GPG. The exact threshold depends on personal tolerance and appliance sensitivity.
Can I install a softener myself?
DIY installation is possible for experienced plumbers, but most homeowners hire a pro to ensure correct sizing, proper bypass loop, and warranty validity.
How often does a softener need to regenerate?
Regeneration frequency depends on the system’s capacity and the household’s water use. Residential units are typically set to regenerate at intervals that match the water demand, often on a schedule determined during professional installation.
Do salt‑free systems eliminate hard water?
No, they condition the water to reduce scale without removing calcium or magnesium. The water will still test as hard, but scale buildup is minimized.
What maintenance does a softener require?
Salt‑based units need salt refills every 4‑6 weeks and occasional resin cleaning. Salt‑free conditioners need media replacement every 6‑12 years, but no salt or brine handling.
Conclusion
Start with an accurate hardness test, size the system for your family’s daily use, set a realistic budget, and pick the type that fits your water profile. Then call Primewest Plumbing for a professional install and peace of mind.
Ready for a quote? Explore our water‑filter installation guide to learn how a softener pairs with filtration for optimal results.


Comments