


Water Heater Leaking From Bottom: What to Do

A puddle under your water heater can mean a loose valve, a bad fitting, or a failed tank. Don't guess from the puddle alone. Shut the unit down safely, trace the first wet spot, then decide if a small repair is enough. Primewest Plumbing can inspect the heater, check warranty details, and handle repair or replacement in Orange County.
Table of Contents
Step 1: Shut Off the Water Heater and Relieve Immediate Risk
If your water heater is leaking from the bottom, start by removing heat, water flow, and pressure from the situation. The right shutoff depends on the heater type.
For a gas heater, turn the gas control to the off position. Don't touch the gas line itself. For an electric heater, switch off the water heater breaker at the electrical panel. If water is near electrical parts, stop there and keep clear until a qualified professional checks it.
Next, close the cold-water supply valve above the tank. A lever valve is closed when its handle sits across the pipe. A round handle turns clockwise. If the leak is only a slow drip, you may leave the supply on briefly while you trace the source. Shut it off once you know where the water starts.
To lower pressure, open a nearby hot-water faucet. Let it run until the flow slows to a drip. The water may be hot, so keep your hands away from the stream. Do not pull the lever on the temperature-and-pressure relief valve . That valve is a safety device, and it may not seal again after you open it.
Move rugs, boxes, and stored items away from the heater. Use towels to keep water away from outlets and nearby appliances. If the leak is spraying, spreading fast, or coming from the tank shell, skip the repair attempt and arrange an inspection.
Leak checks, temperature control, and relief-valve care are separate maintenance tasks, which is why shutting off the unit first matters.
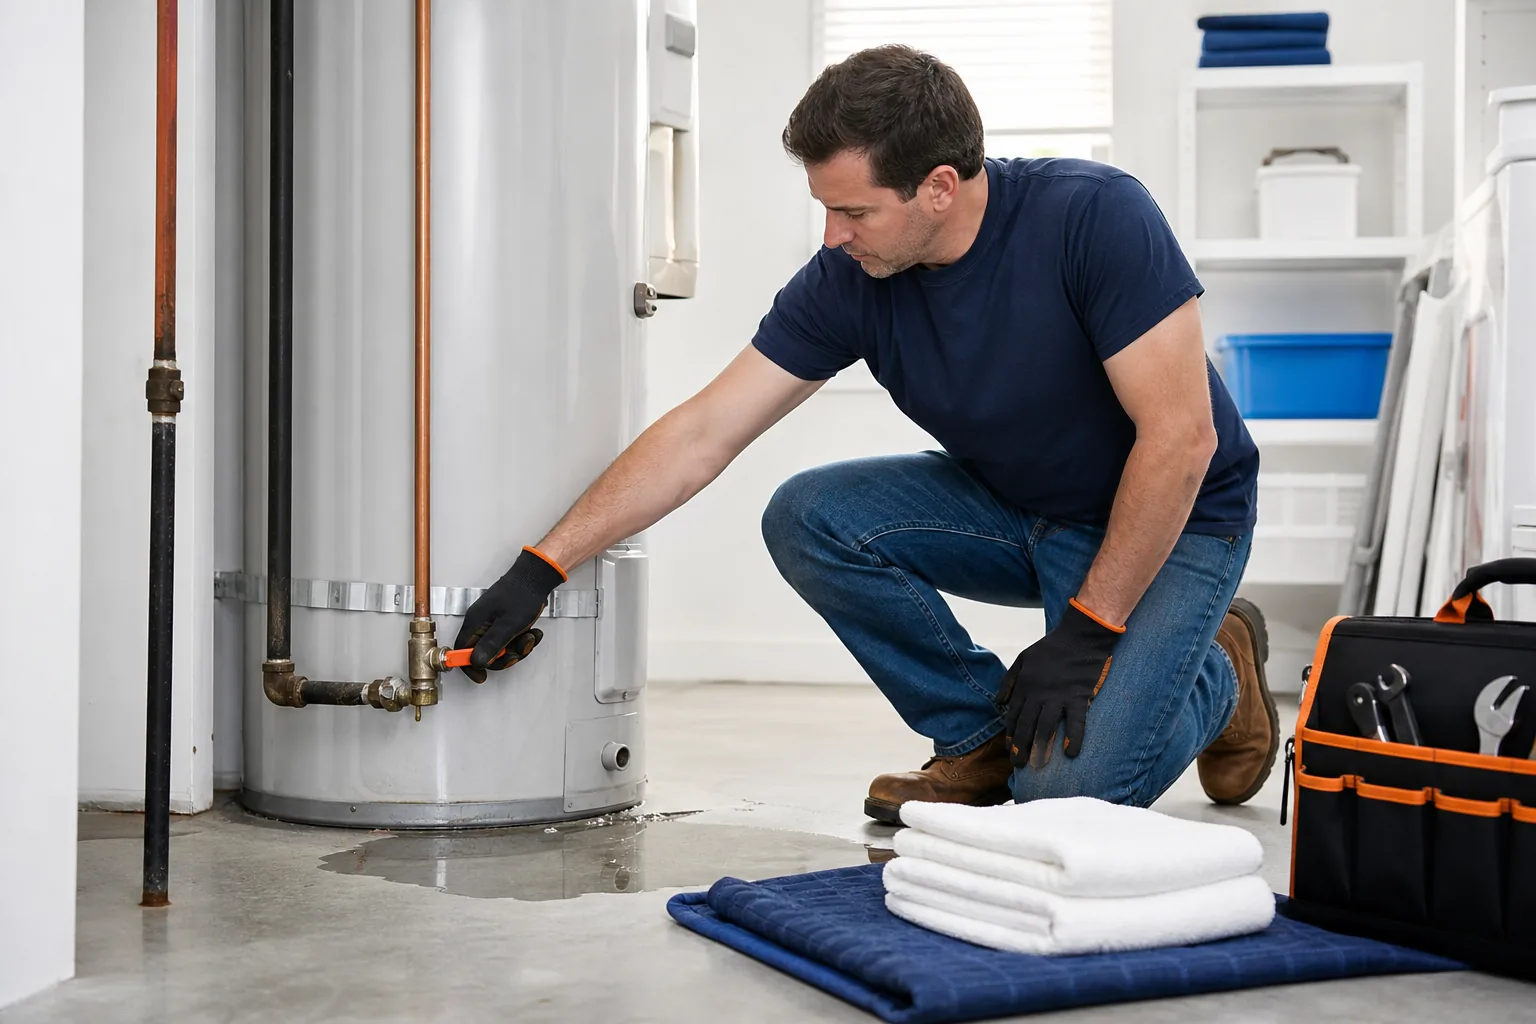
Key Takeaway:Turn off the heat first, close the cold-water supply, and release pressure through a nearby hot-water faucet.
Step 2: Find the Exact Source of the Bottom Leak
Water around the base doesn't prove that the tank is leaking. A drip from a fitting near the top can run down the jacket and collect underneath.
Wipe the outside of the heater dry. Use a flashlight and watch for the first fresh bead of water. Check the unit after someone uses hot water, because some leaks appear only while the tank heats or refills.
Check from the top down
Inspect the cold-water inlet and hot-water outlet. Look at the threaded tank connections and the pipe joints above them.
Check the temperature-and-pressure relief valve . Look at the valve threads and the end of its discharge tube. Water at the tube can mean the valve opened or failed to close.
Inspect the drain valve near the base . Feel around the spout and the threads. A loose valve may drip slowly, while a cracked plastic valve may leak more steadily.
Look for water at the tank seam or under the metal jacket. Wet insulation behind the access cover points to water inside the unit.
Condensation can confuse the diagnosis. Moisture may form on a cool tank when cold water enters a warm room. It should fade after the heating cycle. Water that keeps returning after the surface is dry is more likely to be a true leak.
Use a dry strip of paper towel around each fitting. The first wet strip usually reveals the source better than a quick touch. Don't remove insulation from a gas vent or disturb wiring while checking.
For homes with hidden moisture, Primewest Plumbing provides leak detection service that can help separate a tank leak from a nearby plumbing leak. This is useful when water appears under the heater but no fitting stays wet.
If the tank itself is bubbling water upward from the bottom, or the insulation is wet inside, treat that as a tank failure until proven otherwise. Valves and fittings can be replaced. A corroded storage tank normally cannot be restored to a safe, lasting condition.
Step 3: Diagnose Common Causes and Perform Safe Basic Checks
A water heater leaking from the bottom usually traces back to one of four areas: a drain valve, a relief valve, a pipe connection, or the tank wall.
Drain valve leak
The drain valve sits low on the tank and may loosen with age. If water comes from the outlet or around the threads, a small adjustment may stop a slow drip. Use only light force. Over-tightening can damage the valve or the tank connection.
Older valves may be plastic. A replacement brass drain valve is often a better long-term choice, but changing it means draining the tank fully and fitting the new part correctly. If the valve will not turn or the tank connection starts to twist, stop.
Temperature-and-pressure relief valve leak
The relief valve opens when temperature or pressure becomes too high. A continuous drip from its discharge tube may mean the valve no longer seals. Replacing the valve may solve the leak, but repeated discharge points to a pressure or heat problem.
A pressure regulator or pressure-management device may be needed when pressure rises as water heats. That diagnosis belongs with a licensed plumber. Never cap, plug, or block the relief line.
Loose inlet or outlet connection
Water at the hot or cold connection may come from a worn connector, a loose threaded joint, or a failed seal. Shut off the supply and relieve pressure before attempting any adjustment. If the pipe moves with the tank nipple, don't force it.
Corroded inner tank
Wet insulation is a strong warning sign. Rust inside the tank can form a hole that sends water down into the base. That is a replacement problem, not a caulk problem. Glue on the outside may slow water for a moment, but it won't restore the tank wall.
The research behind common online checklists found a wide safety gap. Only one of 13 extracted items included a safety precaution, and that warning was not to pull the relief-valve lever. Most checklists also skip repair time and common mistakes. Treat online steps as clues, not a full safety plan.
One careful check is useful. Repeated trial-and-error is not. If you cannot identify the first wet point, Primewest Plumbing Water Heater Repair Service can assess the unit before a small fitting leak becomes floor or wall damage.
Step 4: Repair the Faulty Component and Prevent Repeat Leaks
Repair only the part you have identified. A water heater leaking from the bottom needs a targeted fix, not a sealant patch around the base.
When a basic repair may work
A loose drain valve may need a careful snug adjustment. A worn drain valve should be replaced after the tank is isolated and drained. If you replace one, match the thread size and use a valve made for water-heater service. Brass is generally preferred over a brittle plastic valve, but the fitting must still be installed without stressing the tank.
A leaking relief valve should be replaced with the correct rated valve. Do not remove its discharge tube or reduce its size. If the new valve leaks again, stop replacing parts and check for high pressure, overheating, or a failed regulator.
For a leaking pipe joint, the repair may involve a new connector or a fresh seal. The tank must be depressurized first. If the joint is badly corroded, tightening it can make the problem worse.
Prevent the next leak
After the repair, dry the unit and watch it through a full heat cycle. Check the first wet point again. A dry floor after ten minutes does not prove the repair will hold.
Routine care can reduce stress on the tank. Flush sediment as the manufacturer's instructions allow. Check the anode rod during service, since that sacrificial part helps protect the steel tank. Keep the area around the heater clear so a small drip is easy to spot.
Primewest Plumbing's water heater maintenance steps can help you plan those checks without treating maintenance as a substitute for a repair.
If the tank shell leaks, don't coat it with silicone, glue, or tape. Those materials cannot rebuild the inner tank. Shut off the water and arrange replacement instead.
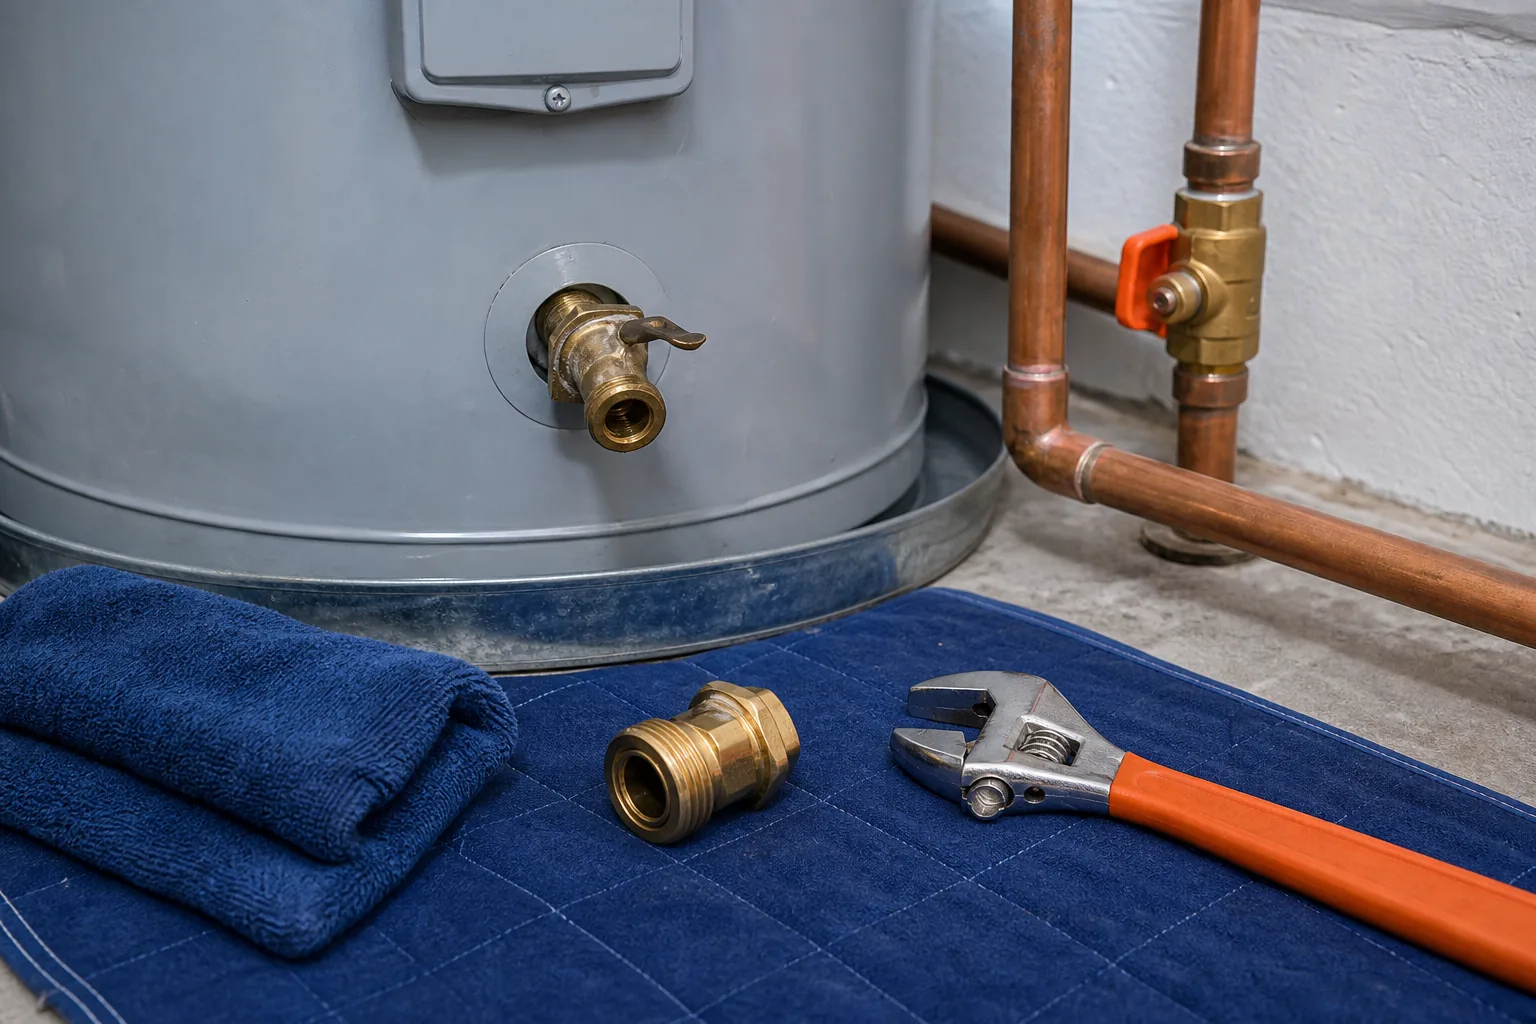
Pro Tip:Photograph the label and the wet area before draining the tank. The model, age, and leak location help a plumber check warranty coverage and plan the right part.
Step 5: Decide Whether to Repair or Replace the Water Heater
The repair-versus-replace choice depends on the failed part, the tank's age, and its overall condition. A new valve on a sound tank is a different decision from a hole in an old tank.
First, find the manufacture or installation date on the unit label. Then ask whether the leak comes from a replaceable part or the tank itself. Check warranty documents before paying for a full replacement. Coverage may apply to the tank even when labor or related parts do not.
What you find | Likely path | What to do next |
Loose fitting with dry insulation | Repair | Isolate the heater, correct the joint, then watch through a heat cycle. |
Drain valve leak | Repair or valve replacement | Use light force. Replace the valve if it is cracked or will not seal. |
Relief valve leak | Inspect and repair | Replace the valve when needed, then check pressure or overheating causes. |
Wet insulation or water from the tank shell | Replace | Shut off water and heat. Do not patch the tank. |
Older unit with several failing parts | Compare both options | Price the repair beside a code-compliant replacement. |
A repair often makes sense when the tank is sound and one part failed. Replacement deserves more weight when the tank is older, rust is present, the unit has repeated faults, or the repair would approach a large share of replacement cost.
Don't use a single age rule by itself. Water quality, service history, installation conditions, and prior repairs all change the decision. A maintained heater with one bad valve may have useful life left. A younger tank with wet insulation may already have structural damage.
Replacement can also require more than swapping tanks. Current code may affect venting, earthquake bracing, shutoff access, drain pans, discharge piping, gas connections, or seismic and safety details. The exact work depends on the home and the heater type. Ask for a written scope that separates the heater from required installation upgrades.
For Orange County homeowners comparing the two paths, Primewest Plumbing's water heater repair versus replacement options can help frame the next questions. Primewest Plumbing Water Heater Repair Service can also inspect the unit and explain whether repair, a conventional replacement, or a tankless option fits the site.
When the tank wall is leaking, replacement is usually the safe long-term answer. When a valve or fitting is wet and the tank remains dry, repair may be all you need.
Frequently Asked Questions
Is a water heater leaking from the bottom dangerous?
A water heater leaking from the bottom can become dangerous when water reaches electrical parts, the leak grows fast, or pressure keeps rising. Shut off gas or electricity, close the cold-water supply, and open a nearby hot-water faucet. Never block the relief valve. Get prompt help if the tank shell or insulation is wet.
Can I still use a water heater that is leaking?
You should not keep using a leaking heater until you know the source. A small fitting drip may be repairable, but continued heating can add pressure and send more water into the floor. Shut off the heat while you inspect. If the leak comes from the tank, leave the unit off until replacement is planned.
Why is water pooling under my water heater?
Water can pool under a heater because of a drain valve, relief valve, loose inlet connection, condensation, or a corroded tank. Water often runs down from a higher fitting, so the puddle is not always the source. Dry the unit, watch for the first new drop, and inspect the tank insulation.
Can a leaking water heater tank be repaired?
A leaking storage tank usually cannot be repaired safely for long-term use. If water comes through the metal shell or wet insulation, corrosion may have opened the inner tank. Shut off the heater and water supply. A plumber can confirm the diagnosis, check warranty coverage, and plan a replacement that meets current installation needs.
How do I know if I should repair or replace my water heater?
Repair the heater when a valve or fitting failed and the tank is dry, sound, and in good shape. Replacement is the better path when the tank itself leaks, corrosion is present, or an older unit has several failing parts. Compare the repair scope with a full replacement before choosing.
Conclusion
Start with safety, then trace the first wet spot instead of judging the puddle alone. If the tank shell or insulation is wet, arrange a replacement assessment. If the leak is at a valve or fitting, Primewest Plumbing can inspect the cause and handle the repair in Orange County. Keep the heater off until you know the leak is controlled.


Comments