


What Causes Slab Leaks? Signs and Repairs

A damp floor, warm tile, or a water bill that suddenly jumps can point to a leak beneath your concrete slab. Even a solid foundation can hide pipe damage caused by soil movement, poor installation, corrosion, or electrolysis, a slow reaction that eats away at copper. Follow these steps to spot the warning signs, narrow down the cause, and choose the right repair.
Table of Contents
Step 1: Recognize the Signs of a Slab Leak
Knowing what causes slab leaks starts with noticing what changes inside your home. A slab leak is a break or opening in a water or sewer line beneath, or within, a concrete foundation. You may never see the pipe itself, but the leak leaves clues.
Walk through the home with the water off. Look for damp carpet, wet flooring, or a puddle that has no clear source. A warm patch may point to a leaking hot-water line. Musty odors can mean moisture has reached flooring, drywall, or other materials.
Also watch for these less obvious signs:
A water bill that rises without a change in use.
Low water pressure at several fixtures.
The sound of dripping or running water when every faucet is closed.
Cracks in flooring or walls, buckling boards, or doors that begin to stick.
Mold or mildew near baseboards, cabinets, or floor edges.
One sign alone doesn't prove a slab leak. A running toilet can raise a bill, while a warm floor can come from sunlight or a heating system. Still, two or more signs deserve prompt testing. Primewest Plumbing's guide to slab leak warning signs can help you record what you see before a plumber arrives.
Don't cut into the floor to search. A wrong guess can damage flooring and still miss the failed line.
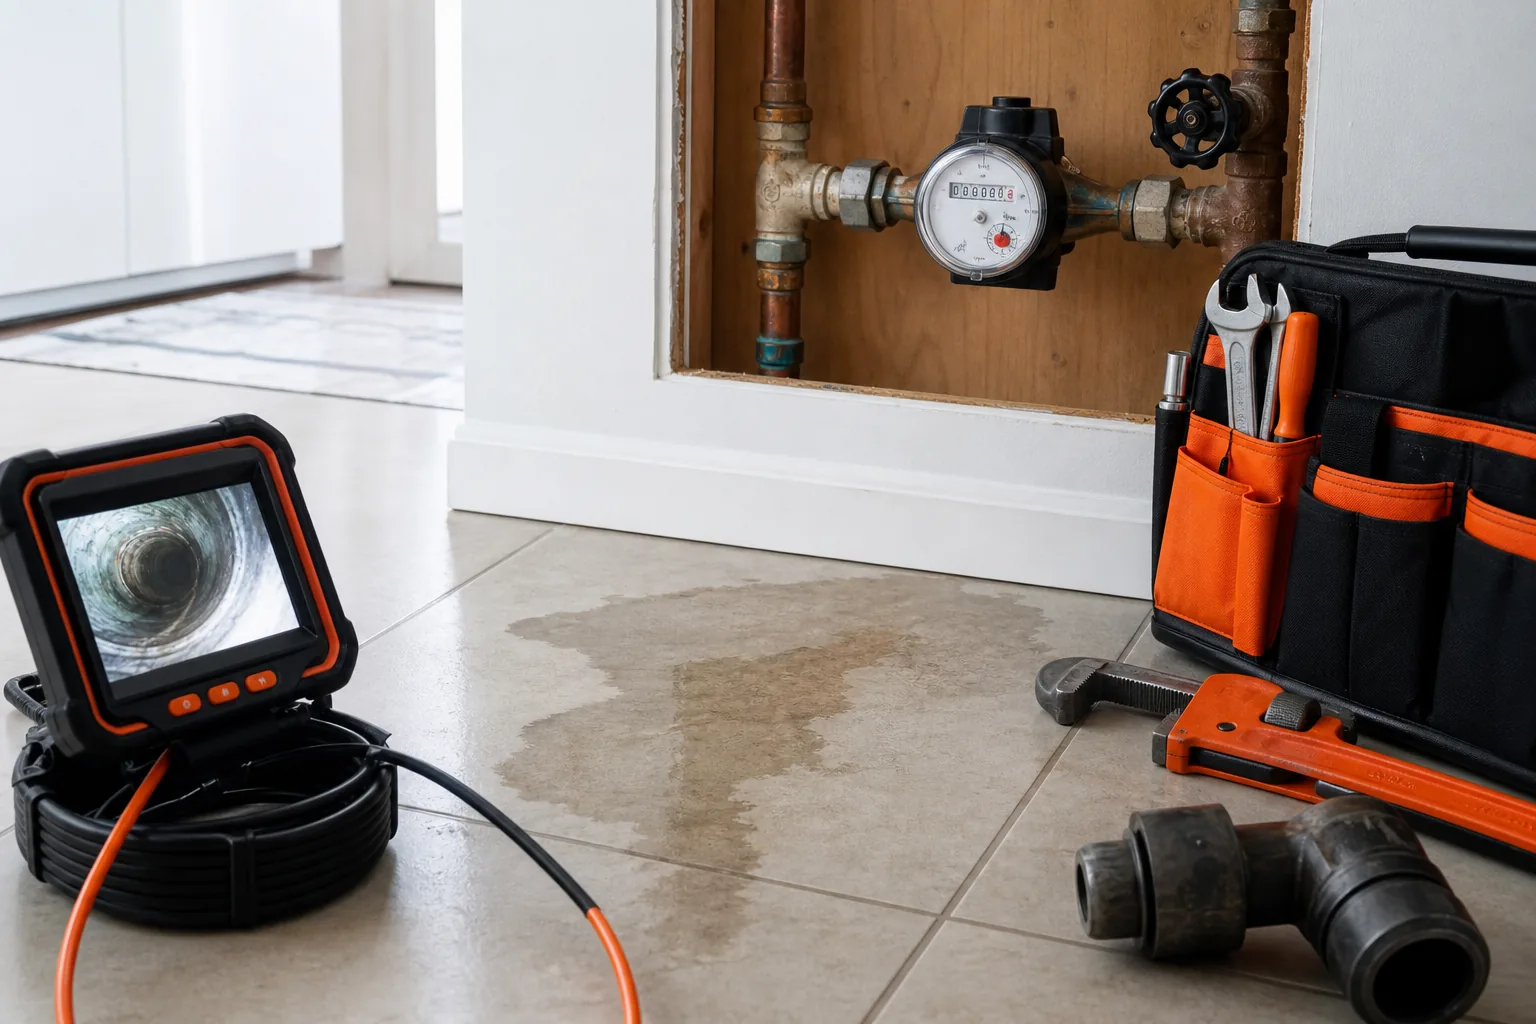
Key Takeaway:A sudden bill increase plus a warm, wet, or noisy floor is enough reason to arrange leak testing.
Step 2: Investigate the Main Causes Under the Foundation
What causes slab leaks varies by the home's age, pipe material, soil, and installation quality. Several small stresses can build until one weak point gives way.
Soil movement is a common physical cause. The weight of a home can settle the ground over time. Earthquakes, drought, heavy rain, or expansive soil can move the foundation in a different way. Pipes trapped under concrete have little room to shift, so that movement can stress a joint or crack a line.
Installation defects can take years to show up. A pipe may have been nicked during construction, laid over gravel, or left without a sleeve where it passes through concrete. If the pipe expands and contracts against rough concrete, repeated rubbing can wear through its wall. Faulty wrapping creates the same type of long-term abrasion.
Corrosion is another concern. Copper can develop pinhole leaks when water chemistry, minerals, or soil conditions slowly weaken the metal. Electrolysis is less obvious. In that process, copper reacts with minerals in the surrounding soil, and the pipe wall gradually erodes. It is a chemical failure, not a single hard impact. The basic process of electrolysis explains why this kind of damage can progress quietly.
Possible cause | What happens below the slab | Clue that may fit | Useful next check |
Ground shift or settling | Movement puts strain on a buried line. | New cracks or sticking doors near other leak signs. | Compare plumbing symptoms with a foundation inspection. |
Faulty wrapping or abrasion | Pipe rubs against concrete, rock, or another hard surface. | Recurring leaks along a similar run. | Ask for pipe and sleeve condition to be assessed. |
Nicked line | A small installation mark grows under pressure and normal wear. | A leak appears years after construction. | Use pressure testing to isolate the line. |
Corrosion or electrolysis | Water chemistry or soil minerals thin the pipe wall. | Pinholes or repeated failures in older copper. | Check the wider pipe system, not only one spot. |
High water pressure | Constant force strains weak pipe sections and fittings. | Leaks at several fixtures or frequent valve failures. | Have pressure measured before choosing a repair. |
Aging or poor materials | Old metal can scale, rust, or lose strength. | Low pressure plus a history of plumbing repairs. | Discuss a repipe if failures repeat. |
Tree roots can also press on nearby lines, especially where a pipe already has a weak joint. Rare reports also connect lightning strikes or power surges with plumbing damage. Treat those as clues for an insurance review, not as the first assumption.
Pipe material changes the decision. Galvanized lines can narrow from mineral buildup and corrosion. Copper may suffer pinholes or damage from heat cycles and poor sleeving. PEX avoids some corrosion risks, but a bad installation or later damage can still cause a leak. The material alone doesn't tell you whether a full repipe is needed.
Step 3: Test the Water Meter and Arrange Professional Detection
A meter test can show whether water is moving when the home should be still. It cannot tell you the exact location, and it cannot replace professional leak detection.
First, turn off every faucet and water-using appliance. Make sure toilets have stopped filling. Read the meter or take a clear photo of its flow indicator. Wait several minutes, or longer if the indicator moves slowly, then check it again. Any continued movement suggests water is escaping somewhere.
Next, close the home's main shutoff if it is safe to reach. Check the meter again. If movement stops, the leak is likely inside the house. If it continues, the problem may sit between the meter and the home, or on an outdoor line.
If your system has a separate valve box, close that valve and repeat the check. A technician may then isolate hot and cold lines by shutting off the water heater supply and testing again. This narrows the search before anyone opens flooring.
Checking the meter when fixtures are not in use can also help reveal ongoing water movement. Stop if a valve is stuck, the box is unsafe, or water is near electrical equipment.
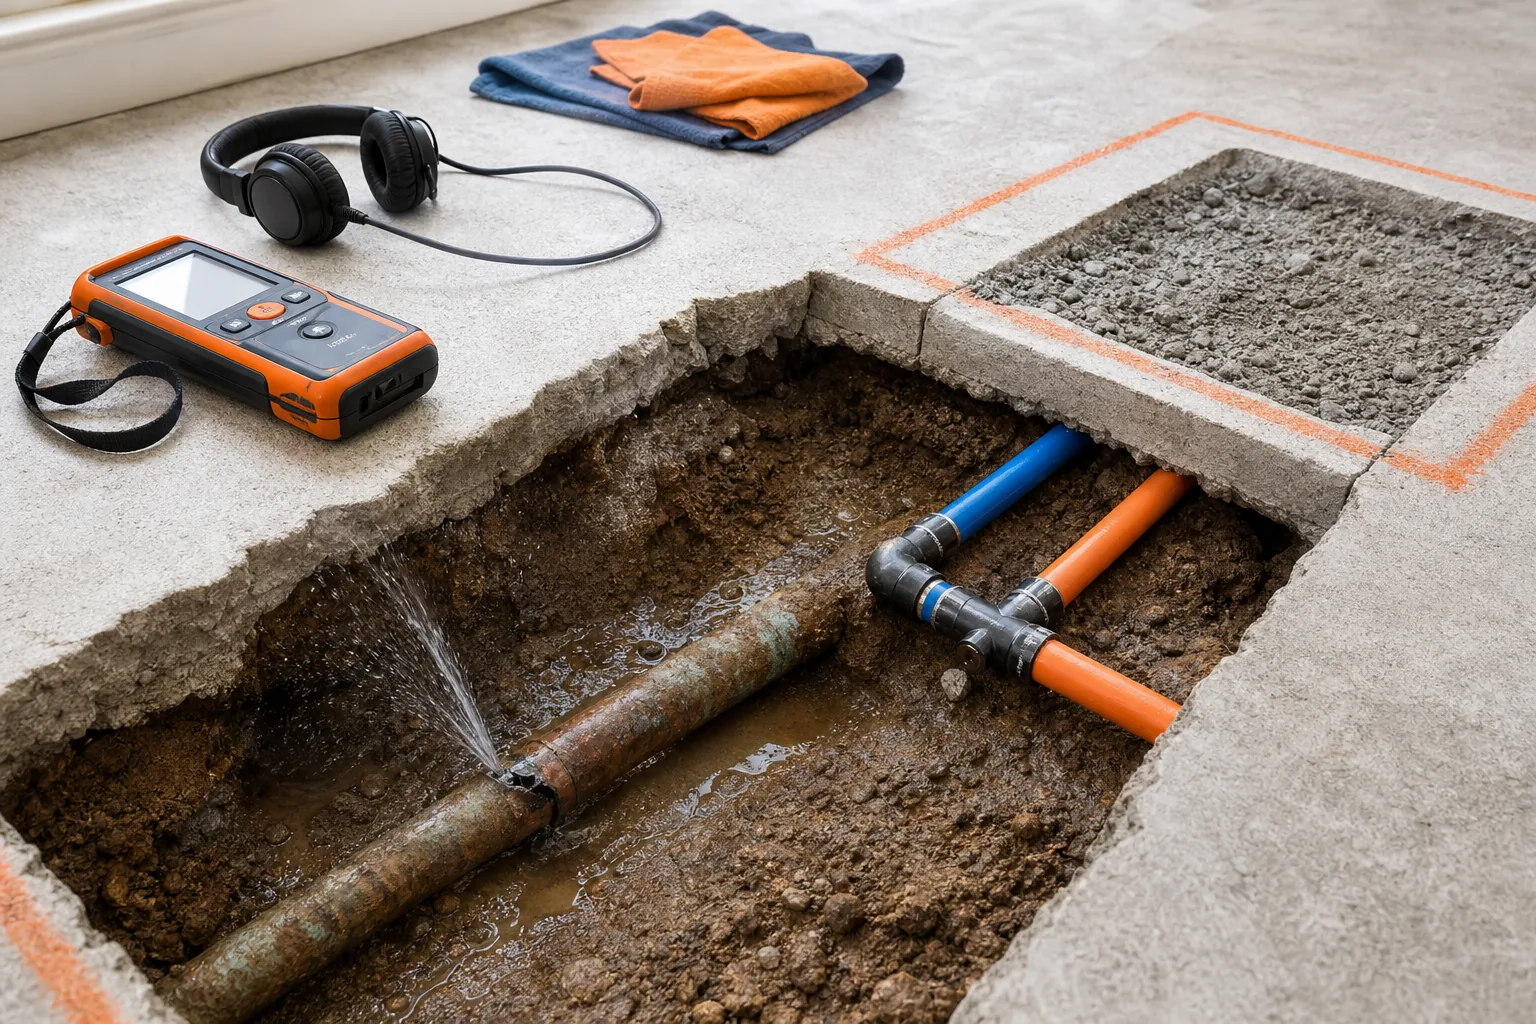
Professional detection may combine pressure testing with acoustic listening or thermal imaging. A hot-water leak can create a heat pattern. A pressurized line can reveal a pressure drop. Listening tools help locate the sound below flooring, but carpet, hardwood, and background noise can make that work difficult.
Primewest Plumbing can use the test results to focus leak detection in Orange County homes without treating the whole slab as one large mystery. If you need a local next step, its leak detection plumbing service explains the location-first approach.
Pro Tip:Write down the meter reading, shutoff positions, wet areas, and the time each symptom appears. That record gives the technician a clearer starting point.
Step 4: Compare Slab Leak Repair Methods and Costs
The best repair depends on the leak location, pipe condition, access, flooring, and number of weak spots. A spot fix may be right for one isolated failure. It may be a poor choice if the surrounding pipe has already thinned.
Spot repair through the slab
After detection confirms the location, a plumber can open a small section of concrete, replace the failed pipe section, and patch the opening. This limits the pipe work when the rest of the system is in good shape. Flooring above the cut may still need repair.
Rerouting the line
Rerouting abandons the damaged section and sends a new line through an accessible path, such as a wall, attic, or exterior route. It often makes sense when the leak sits under finished flooring or when an older line has more than one weak point. The tradeoff is a longer new route and possible wall or ceiling access.
Tunneling or trenchless access
A crew may reach the pipe from outside the foundation by tunneling under the slab. This can protect interior flooring, but soil conditions and access affect the work. Trenchless methods may also suit longer runs when both ends can be reached, though the pipe must be checked first.
Repiping
When pressure testing finds several failing sections, replacing a larger part of the system may cost less trouble than repeated spot repairs. PEX repiping can put new lines in accessible areas, but the right material and route depend on the home's layout and local code. Primewest Plumbing's information on PEX repipes gives homeowners a starting point for that discussion.
Repair choice | Best fit | Main disruption | Cost factors |
Spot repair | One confirmed failure in sound pipe. | Concrete and flooring at one access point. | Depth, access, finish repair, and pipe condition. |
Reroute | Hard-to-reach leak or aging buried line. | Possible wall, attic, or exterior work. | Route length, fittings, access, and finish work. |
Tunnel | Interior flooring is difficult to remove. | Exterior soil access and restoration. | Soil, depth, distance, and access conditions. |
Full or partial repipe | Repeated leaks or widespread pipe wear. | More planning across the home. | Home size, layout, material, and restoration. |
A simple spot repair may vary by scope, while rerouting and a full repipe can cost more depending on the work. These are planning ranges, not a quote. Ask for a written scope that separates detection, plumbing, concrete, flooring, cleanup, and permits.
Insurance may treat sudden water damage differently from pipe wear or poor maintenance. Photograph the first signs, save bills and reports, and ask your insurer what the policy covers before demolition begins.
Step 5: Prevent Future Slab Leaks and Document the Repair
You can't remove every risk under a slab, but you can reduce the chance of a surprise. Start with water pressure. Ask a plumber to measure it if fixtures fail often or several leaks have appeared. High pressure can keep stressing the next weak point after the first repair.
During new work or a repipe, insist on proper sleeves and support where pipes pass through concrete. Keep hard fill away from the pipe path. Use materials suited to the water conditions and follow local plumbing code. A good installation matters as much as the material choice.
Schedule periodic plumbing inspections, especially in an older Orange County home with copper or galvanized lines. Check the meter when the house is quiet. A smart leak sensor can add an alert, but it won't locate a leak beneath the slab.
After repair, keep these records:
The detection report and marked leak location.
Photos before concrete and flooring are restored.
The repair invoice, materials, permits, and warranty terms.
Any insurance claim number or adjuster notes.
A final meter check showing that flow stopped.
That file helps if the same line fails later, and it gives a future buyer a clear plumbing history.
Frequently Asked Questions
What causes slab leaks most often?
The main causes include soil movement, corrosion, high water pressure, aging pipe, poor installation, and abrasion against concrete. A nick made during construction can grow into a crack. Electrolysis can also thin copper slowly when soil minerals react with the pipe.
How do I know if I have a slab leak?
You may have one if the meter moves with all fixtures off, or if you hear water under the floor. Warm or damp flooring, a musty odor, low pressure, and an unexplained bill increase are common clues. One sign can have another cause, so confirm the source before opening the slab.
Can I fix a slab leak myself?
DIY repair is usually a bad idea because the pipe is hidden under concrete and the visible wet spot may not mark the leak. You can safely check the meter if the valves are accessible, but stop if equipment is damaged or water is near electricity. A professional should locate and test the line before repair.
How much does slab leak repair cost?
Cost depends on detection, access, pipe condition, flooring, and the repair method. Supplied Orange County estimates vary for detection, spot repairs, and larger repipes. Get a written estimate that separates plumbing from concrete and finish work.
Does homeowners insurance cover a slab leak?
Coverage depends on the policy and cause. Sudden water damage may receive different treatment than corrosion, age, or poor maintenance. Earthquake-related damage may require separate earthquake coverage. Take photos before work begins, keep the detection report, and ask the insurer what evidence it needs.
Conclusion
Don't wait on a wet floor, moving meter, or unexplained water bill. Shut off the water if damage is active, document the signs, and arrange professional detection before anyone cuts into the slab. Primewest Plumbing can help Orange County homeowners locate the leak and compare a spot repair, reroute, tunnel, or repipe based on the actual condition of the system.


Comments