


Garbage Disposal Installation: Step-by-Step Guide

Installing a garbage disposal looks like a short swap, until the old unit is full of water and the mounting ring won't turn. The steps also aren't always linear. Follow the sequence below, and stop when the wiring, sink, or drain setup doesn't match your unit.
Table of Contents
Step 1: Gather Tools, Materials, and Safety Equipment
Good garbage disposal installation starts with the right parts beside the sink. for your exact model first. Mounting rings, discharge tubes, power cords, and dishwasher fittings can differ between brands.
Set out the tools
Plan on needing a flathead screwdriver, a Phillips screwdriver, an adjustable wrench, and a putty knife. A bucket or shallow pan belongs under the drain connection. Keep a towel or drop cloth close by too.
You may also need slip-joint pliers, a wire stripper, wire connectors approved for the job, and a voltage tester. A short screwdriver can fit better inside a crowded cabinet. Some units include a small mounting wrench, often called a wrenchette, for the final twist.
New disposal with its mounting hardware
Sink flange, fiber gasket, backup flange, mounting ring, and snap ring
Plumber's putty or the seal named in the manufacturer's instructions
Discharge tube, rubber gasket, bolts, and clamp
Dishwasher hose clamp, if the dishwasher drains through the disposal
Replacement P-trap parts, if the old drain cannot be reused
Approved power cord or hard-wire adapter, if the disposal does not have one
Tool lists vary more than many quick videos suggest. Screwdriver types appeared most often, but no single tool showed up as the only must-have item.
Protect the cabinet floor before you start. Water trapped in the old disposal can spill when the drain tube comes loose. If the cabinet has a wood base, use a folded drop cloth instead of relying on cardboard that may soak through.
Check the sink opening and the space below it. A thick sink may need a different flange or shorter mounting screws. If a nearby outlet does not exist, an electrician may need to install one. The disposal should connect to a properly grounded circuit that matches the manufacturer's directions.
For homeowners who would rather have the whole kitchen connection checked at once, Primewest Plumbing's residential plumbing service covers sink and fixture work in Orange County. That can make sense when the disposal is only one part of a larger kitchen repair.
Safety rule:Never begin by trusting the wall switch. You must shut off the circuit at the breaker before touching hard-wired connections.
Key Takeaway:Match the disposal, flange, drain parts, and electrical setup before you remove the old unit.
Step 2: Shut Off Power and Remove the Existing Disposal
Before removing anything, make the disposal electrically dead and give the old unit support. Garbage disposal installation becomes risky when a heavy appliance drops while wires or drain pipes remain attached.
Disconnect the power
Turn off the kitchen disposal breaker. If the unit plugs into an outlet, unplug it after switching off the breaker. Test the outlet or wires with a voltage tester if you have one and know how to use it.
For a hard-wired unit, remove the electrical cover plate only after the breaker is off. Keep the wire connections intact until you confirm which cable feeds the disposal. If you cannot identify the circuit, stop and have an electrician verify it.
Support the weight
Place a bucket under the disposal and hold the unit with one hand or support it with a stable pan. The disposal may contain water even when the sink looks dry. Remove the dishwasher hose first if one is attached. Then loosen the connection at the discharge tube or drain elbow.
Keep the drain parts from swinging into the cabinet wall. Some connections use slip nuts and washers. Others use bolts or a clamp. Loosen the fastener that holds the tube to the disposal, but leave the wall-side drain in place when possible.
Release the mounting ring
Most common ring mounts use three tabs that lock onto ramps beneath the sink flange. Turn the lower mounting ring to the left while supporting the disposal. If your ring has hooks, place a flathead screwdriver in one hook for extra use.
Lower the unit slowly. It is heavier than it looks, and the cabinet gives you little room to move. Set it on a towel outside the work area instead of letting it hang from a pipe or wire.
Once the unit is out, inspect the leak source before deciding what must be replaced. Water coming through a crack or rusted body points to a failed disposal. Water at the upper sink joint, discharge gasket, or slip nut may point to a loose seal instead.
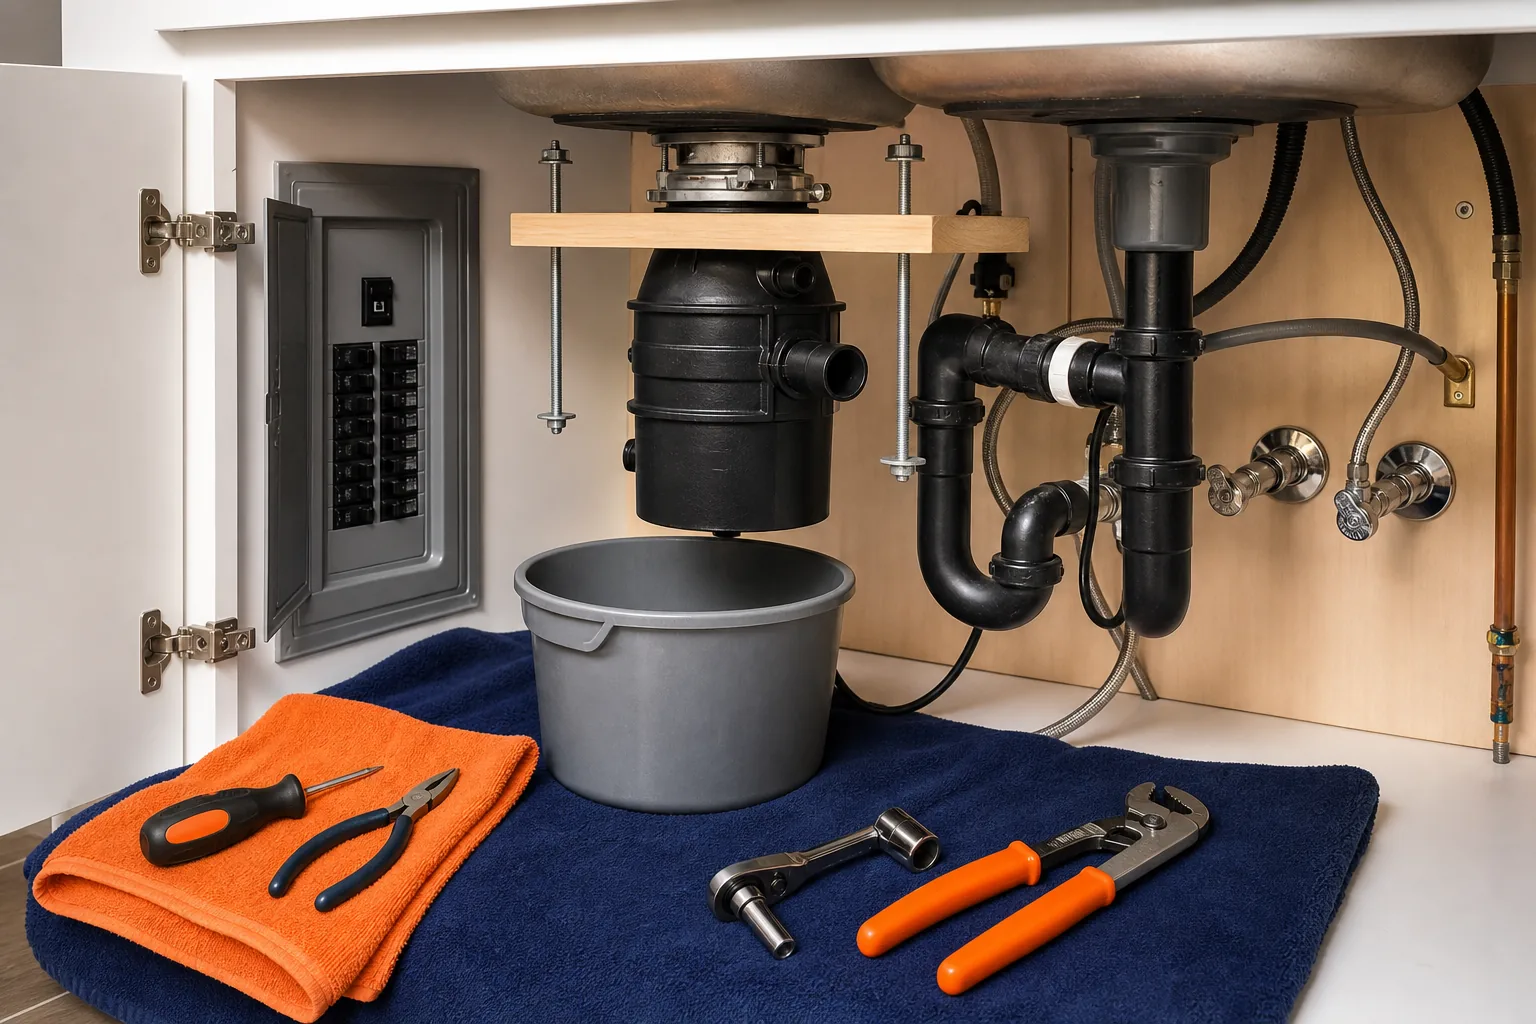
Keep the old mounting parts until the new flange is ready. They can help you compare the sink opening and screw locations. Do not assume the old mount fits a new disposal just because both units use a ring system.
By now you should have the old disposal removed, the power isolated, and the cabinet protected from leftover water. The sink flange is next.
Step 3: Inspect and Install the Sink Flange and Mounting Assembly
The flange makes the seal between the sink and the disposal. A clean, level flange matters more than a thick bead of putty, so take time with this part of the garbage disposal installation.
Remove the old hardware
Loosen the three mounting screws evenly. Remove the snap ring with a flathead screwdriver, then take off the mounting ring, backup flange, and fiber gasket. Push the old flange up from below if it sticks to the sink.
Scrape away old plumber's putty with a putty knife. Work around the full drain opening. A small lump under the new flange can leave a gap that leaks as soon as the sink fills.
Wipe the sink surface clean and dry. Check the rim around the opening for chips, bends, or deep scratches. If the sink is badly damaged, a new seal may not solve the leak.
Set the new flange
Roll plumber's putty into a rope and form it around the underside of the flange. Use the seal supplied by the manufacturer instead if the instructions call for one. Press the flange straight into the drain opening. Do not slide it around after it seats.
Place a towel inside the sink before setting a weight on the flange. The towel protects the sink from scratches, which is the main mistake identified in the source material. A disposal can hold the flange down, but use a separate weight if the unit is awkward to lift.
From below, place the fiber gasket against the flange. Add the backup flange and mounting ring in the order shown in the manual. Pull the snap ring open and press it into the groove until it locks in place.
Tighten the mount
Start each mounting screw by hand. Tighten the screws in small, even turns so the ring draws up level. Stop when the flange sits firmly against the sink. If the metal begins to bend, you are tightening too much.
Some instructions call for shorter screws with a sink more than a stated thickness. Check your model's directions rather than guessing. A screw that is too long may interfere with the flange or fail to clamp the parts as intended.
Remove the squeezed-out putty from the top of the sink. Leave a neat seal around the flange. Do not disturb the flange while you prepare the disposal below it.
Primewest Plumbing can also inspect the sink drain and nearby plumbing when a replacement is part of a larger repair. That is useful when an old flange is stuck or the cabinet has signs of a long-term leak.
Pro Tip:Tighten each mounting screw a little at a time. An even ring seals better than one screw forced tight while the others remain loose.
Step 4: Connect the Electrical Wiring or Power Cord
Electrical work is the point where many do-it-yourself garbage disposal installation projects should slow down. First check whether the new disposal has a power cord already attached. If it does, you may only need to plug it into the existing outlet after the plumbing is complete.
Choose the correct connection path
If there is no cord, follow the manufacturer's directions for adding an approved cord or for hard-wiring the unit. Do not substitute a random cord. Use only a cord approved for your model, because an incompatible cord can affect safe operation or warranty coverage.
For a hard-wired setup, switch off the breaker and test the conductors before opening the cover. Keep the cable held by a strain relief. The relief stops a pull on the cable from transferring force to the wire connections.
Match the conductors by function, not by guesswork. Typically, black is live, white is neutral, and green or bare is ground. Your model may use a different connection block, so its manual controls.
Make the connections
Strip only the length shown in the instructions. Too much bare copper can create a fault against the cover or another conductor. Too little wire may not sit fully inside the connector.
Connect the live conductor to the live terminal. Connect neutral to neutral. Attach the ground wire to the ground screw or approved ground terminal. Tug each connection gently to confirm it is held, then fold the wires into the cover without pinching them.
Replace the electrical cover plate and tighten its fasteners. The cable should enter through the strain relief with no sharp bend. If the disposal came with a cord, secure the cord so it will not lie in a wet spot on the cabinet floor.
Disposal models may offer different connection choices. The manufacturer's instructions should still be your final source for the exact cord, adapter, ground screw, and connection method in your box.
Know when to stop
Call an electrician if the outlet is missing, the circuit does not match the instructions, the box has damaged wiring, or you cannot identify the ground. Call an electrician when a nearby outlet and switch must be installed.
Do not restore power yet. The unit must be mounted and the drain must be connected first. Electrical safety is easier when your hands are not working around a loose, heavy disposal.
Step 5: Attach the Discharge Tube, Dishwasher Hose, and P-Trap
The drain side of garbage disposal installation must line up without force. A twisted tube or strained P-trap may hold for a day, then leak when the sink fills.
Fit the discharge tube
Install the rubber gasket at the disposal outlet. Place the discharge tube against the outlet and secure it with the supplied bolts or bracket. Tighten the fasteners evenly so the gasket compresses without folding.
Some units use an anti-vibration tailpipe mount and a spring-loaded hose clamp. Use the parts supplied for your model. If the tube is too long, mark it after a dry fit and trim it square. Remove burrs from the cut edge before installing the slip nut and washer.
Keep the discharge tube aimed toward the drain wall. The disposal can rotate slightly while it hangs on the mounting ring, which helps you line up the outlet. Do not use that movement to force a pipe into an angle that does not fit.
Prepare the dishwasher connection
If the dishwasher drains through the disposal, remove the factory knockout plug from the disposal inlet before mounting the unit. Use the tool named in the instructions. If the plug stays in place, the dishwasher hose cannot drain through the inlet.
Push the dishwasher hose over the inlet and secure it with a clamp. Check the hose size against the disposal fitting. One source notes that a common dishwasher outlet hose is 7/8 inch, while a different size may need a connector kit.
Route the hose so it rises high under the counter before dropping to the disposal, if required by the appliance instructions. Keep the hose away from sharp cabinet edges. A short, kinked hose can restrict drainage even when the clamp is tight.
Reuse or replace the P-trap
You can reuse the existing P-trap if it lines up with the new discharge tube and its parts are sound. Replace it when the tube is cracked, the trap is badly corroded, or the new disposal sits at a different height.
For a new PVC trap, dry-fit the male adapter, wall tube, and J-bend first. The wall tube must enter the drain opening without reaching too far into the wall. Mark the length, remove the parts, then use primer and PVC cement as directed for the pipe.
Give cemented joints the cure time listed on the product. Do not rush to fill the sink. Threaded slip connections use a washer and nut, not PVC cement. The washer must sit in the right direction, or tightening the nut will not seal the joint.
Some layouts need a T-pipe before the P-trap. The T-pipe gives the disposal discharge a proper path into the trap. Match the new layout to the existing wall drain rather than copying a setup that only looks similar.
Hand-tighten plastic slip nuts first. Add only a small turn with pliers if needed. Plastic threads can crack when a wrench is used too hard, and a cracked nut creates a leak that looks like a bad disposal.
When the drain is assembled, rotate the disposal so the discharge tube rests naturally. The pipe should not pull the disposal sideways. That strain can shift the sink flange seal over time.
If the under-sink drain has several old repairs or backs up beyond the disposal, the issue may be farther into the branch drain. Primewest Plumbing's sewer repair and drain service is the better next step when a simple appliance swap exposes a larger drain problem.
Step 6: Secure Connections, Find Leaks, and Test the Unit
The final stage of garbage disposal installation is a slow test, not a quick flip of the switch. Check the mounting ring first, then test the plumbing with the motor off.
Lock the disposal in place
Lift the disposal onto the sink flange. Align all three tabs on the lower mounting ring with the low points of the flange ramps. Push up while turning the disposal to the right.
Confirm that every tab has engaged. The disposal may rotate freely before the final lock, which is helpful for lining up the drain. Once the outlet points toward the drain, use the supplied wrench or a screwdriver in the mounting hook to turn the ring until the tabs pass over the ridges.
Do not rely on one tab to hold the unit. Look around the full ring. If one tab is not seated, lower the disposal and start again. A unit that appears secure can drop when water and vibration reach it.
Inspect every connection
Check the sink flange from above and below. Look at the discharge gasket, mounting bolts, dishwasher clamp, P-trap nuts, and wall connection. Wipe each joint dry with a clean towel.
Insert the sink stopper and fill the basin with a small amount of water. Watch the underside of the flange and all drain joints. Feel beneath each connection with a dry tissue. A tissue often shows a small leak before a drop is easy to see.
If water appears, leave the power off. Find the highest wet point, then tighten or reset that specific connection. Water can run along a pipe, so the lowest wet spot is not always the source.
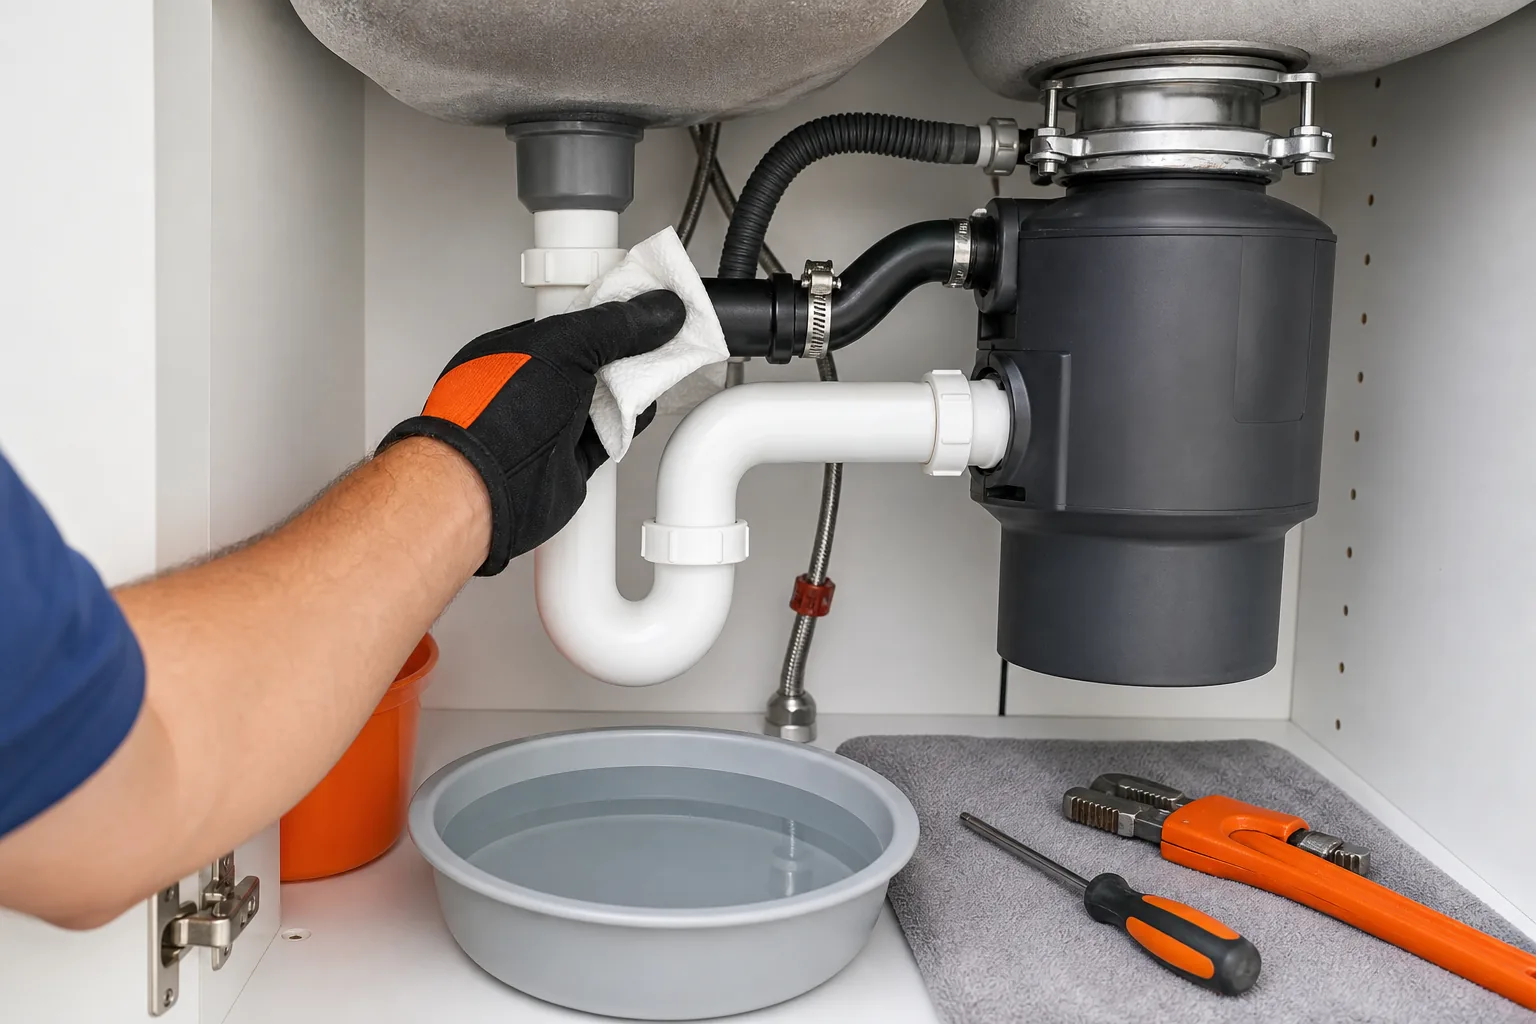
Run the disposal
Once the basin test stays dry, remove the stopper and clear the sink. Install the splash baffle if your unit uses one. Make sure no tool, bolt, or loose fitting remains inside the disposal opening.
Restore power at the breaker. If the unit plugs into an outlet, plug it in only after the plumbing check. Run cold water into the sink, then switch the disposal on for a short test. Listen for a steady motor sound and watch the drain connections while water flows.
Turn the disposal off before shutting off the water. Check again for drips. Test the dishwasher connection separately if it is connected, because its hose may leak only when the dishwasher pumps water.
A hum without grinding may mean the motor is jammed or the unit lacks the correct power. Turn it off at the switch and breaker before investigating. Never put your hand into the disposal. Follow the manual for its reset button or clearing tool.
Key Takeaway:Test with water first, trace leaks from the highest wet point, and restore power only after the plumbing stays dry.
Garbage Disposal Installation FAQ
Is garbage disposal installation a DIY project?
You can install one yourself if the existing electrical and drain setup matches the new unit and you can work safely in the cabinet. Garbage disposal installation still involves a heavy appliance, leak-prone seals, and electrical connections. Stop if you need a new outlet, cannot identify the breaker, or find damaged wiring or a cracked drain line.
Do I need to turn off the breaker to install a garbage disposal?
Yes, turn off the breaker before touching hard-wired disposal connections. Unplugged units should also be isolated at the breaker while you work, since someone could restore power at the switch or outlet. Test the circuit when possible. Do not depend on the wall switch alone.
Why is my new garbage disposal leaking from the bottom?
A leak from the disposal body or bottom often means the internal housing has failed, so replacing the unit may be necessary. A leak at the flange, discharge tube, dishwasher inlet, or P-trap usually points to a seal or connection problem. Dry the area, fill the sink, and trace the first wet point before buying parts.
Do I need plumber's putty for garbage disposal installation?
Most flange installations use plumber's putty or a manufacturer-approved sink seal. Apply it under the flange on a clean, dry sink surface. Some models include a gasket instead, so follow the unit's instructions. Place a towel between the sink and any weight used to hold the flange down.
Can I reuse the old mounting ring?
You may be able to reuse the old mounting ring when the new disposal and old unit use a compatible system. Check the manufacturer's instructions before doing so. Replacing the mount is safer when the old ring is bent, corroded, missing parts, or made for a different flange design.
Does garbage disposal installation require a permit in California?
Public installation guides do not settle California permit requirements for every home and local setup. The research sources used here contain no permit guidance or time estimate. Check with your city or county building department before work, especially if the installation adds a circuit, changes plumbing, or is part of a remodel. A local plumber can also help identify the right authority.
Conclusion
Use the manufacturer's instructions as the final word, especially for wiring and mounting parts. If the job involves a new circuit, a damaged drain, or a flange that will not seal, Primewest Plumbing can inspect the full setup and handle the installation. Before you start, match the replacement unit to the sink, drain, dishwasher hose, and power connection.


Comments