


Pipe Leak Repair: A Safe Step-by-Step Guide

A leaking pipe can turn a dry room into a cleanup job fast. Start by stopping the water, then decide if you need a short-term patch or a full repair. These steps explain how to handle a visible leak, choose a repair for the pipe material, and know when DIY work should stop.
Table of Contents
Step 1: Shut Off the Water and Find the Source of the Leak
Safe pipe leak repair starts with stopping water flow. Find the shutoff valve for the fixture or branch line first. If that valve does not work, close the home’s main water valve.
Open a nearby faucet after shutting off the supply. This lowers pressure and drains some water from the line. Place a container under the leak and move rugs, furniture, or stored items away from the wet area.
Now trace the water back to its source. Water can travel along a pipe, joist, cabinet base, or wall before it drips. A wet ceiling below a bathroom does not prove the ceiling contains the failed pipe.
Look for these clues:
A pinhole or split in an exposed pipe.
Water around a threaded joint or fitting.
Green or white buildup on copper.
Soft drywall, warped flooring, or a musty smell.
A water meter that keeps moving while every fixture is off.
A hidden leak needs a different plan. Check the meter after shutting off fixtures and appliances that use water. Sounds inside a wall, a warm floor spot, or a new stain can also point to a leak under a slab or behind a wall. Primewest Plumbing handles residential and commercial leak detection in Orange County when the source is unclear.
For more checks you can do before opening a wall, see how to detect a hidden water leak in your home . The goal is to mark the likely source, not start cutting into finished surfaces.
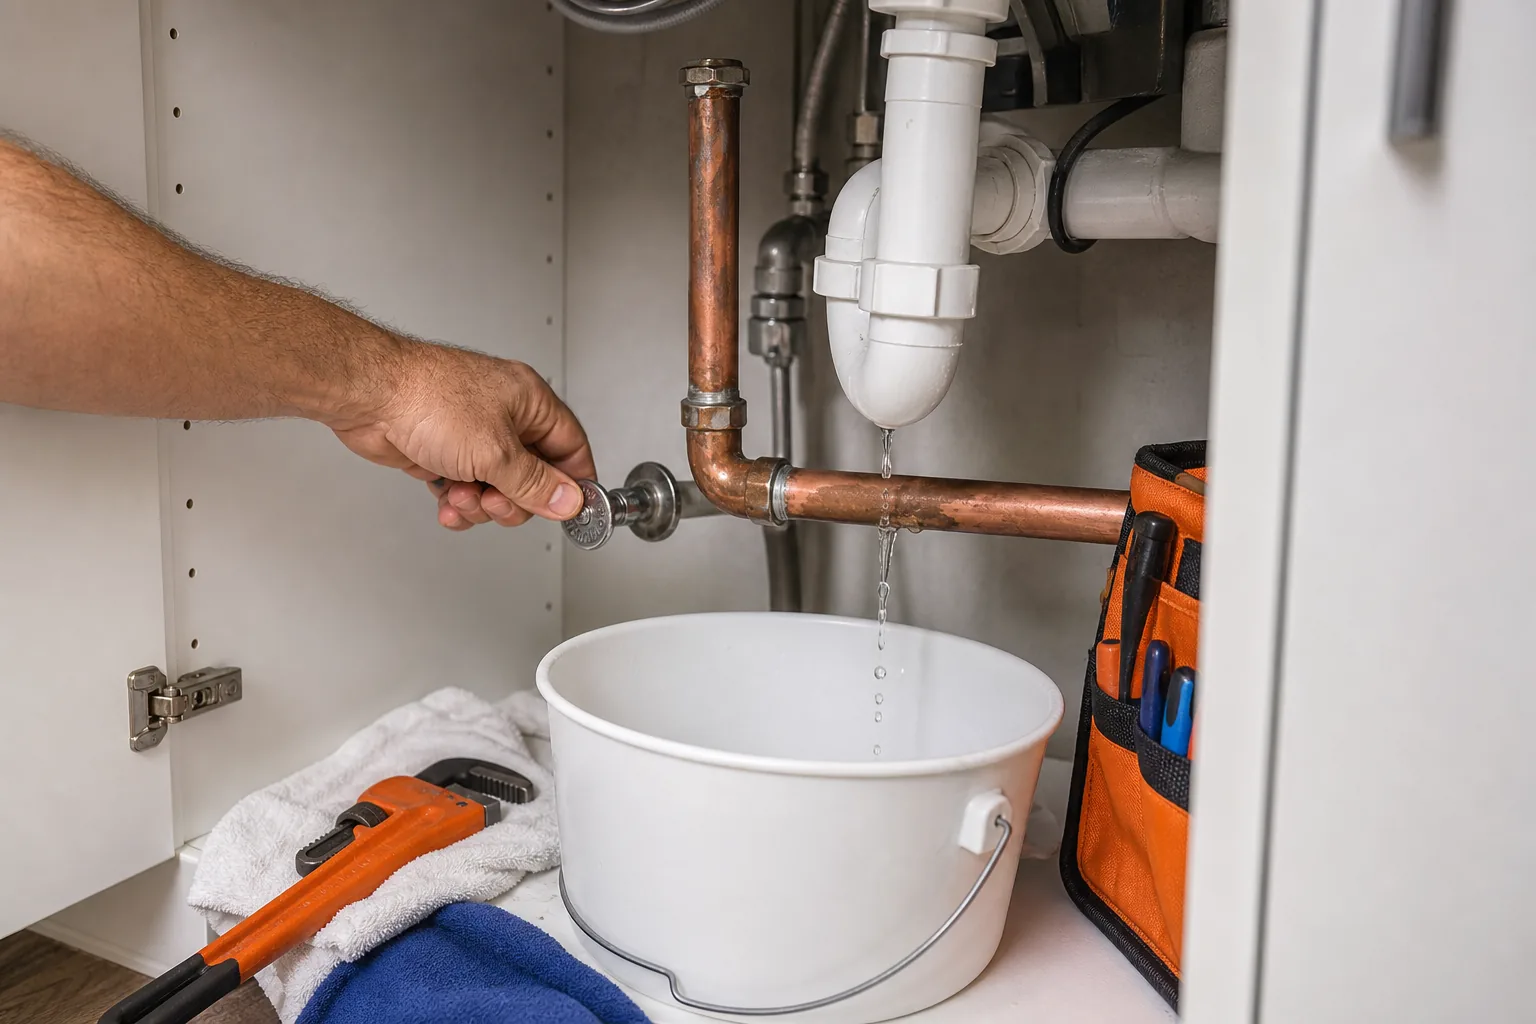
Key Takeaway:Stop the water and confirm the source before choosing a patch or replacement fitting.
Step 2: Clean the Pipe and Apply a Temporary Repair
Temporary pipe leak repair can limit damage while you arrange a permanent fix. It is a stopgap, not a reason to leave a damaged pipe in service for an unknown period.
Dry the pipe and the area around the damage as much as possible. Wipe away dirt, oil, and scale. Roughen the surface with sandpaper or a wire brush, then wipe it with rubbing alcohol and let it dry. Adhesive patches fail when they sit on grime or moisture.
Choose the patch based on the leak and the pressure in the line:
Temporary method | Best use | Key limit |
Epoxy putty | Small holes on a clean, dry section | Needs proper mixing and cure time |
Self-fusing silicone tape | Small leaks where you can wrap the pipe tightly | Needs stretch and enough clearance |
Repair clamp | A pinhole on a straight, sound pipe | Can crush thin or badly corroded pipe |
Temporary patch material | A wider damaged area on a rigid pipe | Still needs a later permanent repair |
For epoxy putty, knead the two parts until the color is even. Press it over the hole and extend it well beyond the damaged spot. Taper the edges so water cannot catch a sharp transition. Follow the product’s cure time before restoring pressure.
For silicone tape, start beside the hole when the line still has pressure. Stretch the tape as you wrap it over the leak. Overlap each turn and add a loose outer wrap to protect the seal. A clamp needs a correctly sized gasket or patch beneath it. Tighten it firmly, but do not crush a thin pipe.
Temporary materials may not meet the rules for a permanent potable-water repair. Avoid putting general-purpose epoxy inside the water passage. If the pipe is hot, badly corroded, split along its length, or leaking near a fitting, skip the patch and get help.
The steps for stopping a leaking pipe can help you slow an active drip while the line remains shut down. Keep checking the patch. A small wet ring means the seal is losing its hold.
Pro Tip:Take a photo of the damage before covering it. The image helps a plumber identify the failed section after the temporary material is removed.
Step 3: Choose a Permanent Repair for the Pipe Material
Permanent pipe leak repair depends on the pipe, the failure point, access, and local code. Do not choose a fitting only because its diameter looks right. The fitting must match the pipe material and the system’s use.
Copper pipe
A short damaged section can be cut out and replaced with new copper plus compatible couplings. Soldering requires a clean, dry pipe and an open-flame work area. Water left inside the pipe can prevent the joint from heating correctly.
Other approved connection methods can also join compatible copper sections. Cut the pipe square, remove burrs, clean the outside, and mark the insertion depth. The fitting must seat fully. A partly inserted pipe can leak after pressure returns.
PEX and CPVC
PEX needs a fitting and connection method made for PEX. CPVC needs compatible fittings and the correct cement system. Do not swap materials or glue types based on appearance. Check the fitting instructions before cutting the damaged section.
Iron or steel pipe
Old iron and steel lines may have more than one weak spot. A clamp over one hole will not solve a pipe that is thin along its length. Replacement may require threaded fittings, a transition fitting, or a larger section of repipe work.
Underground or slab-level pipe
A leak below concrete, landscaping, or a driveway calls for accurate detection before excavation. Primewest Plumbing can assess whether a targeted repair, reroute, or trenchless pipe replacement fits the condition.
Press-fit connections are useful when flame would create a fire risk or when the line is difficult to drain fully. A press tool forms the connection around a compatible fitting. The tool, jaw size, pipe prep, and fitting type must all match. The manufacturer’s fitting guidance explains that some connection systems require proper installation and, in some underground uses, added protection.
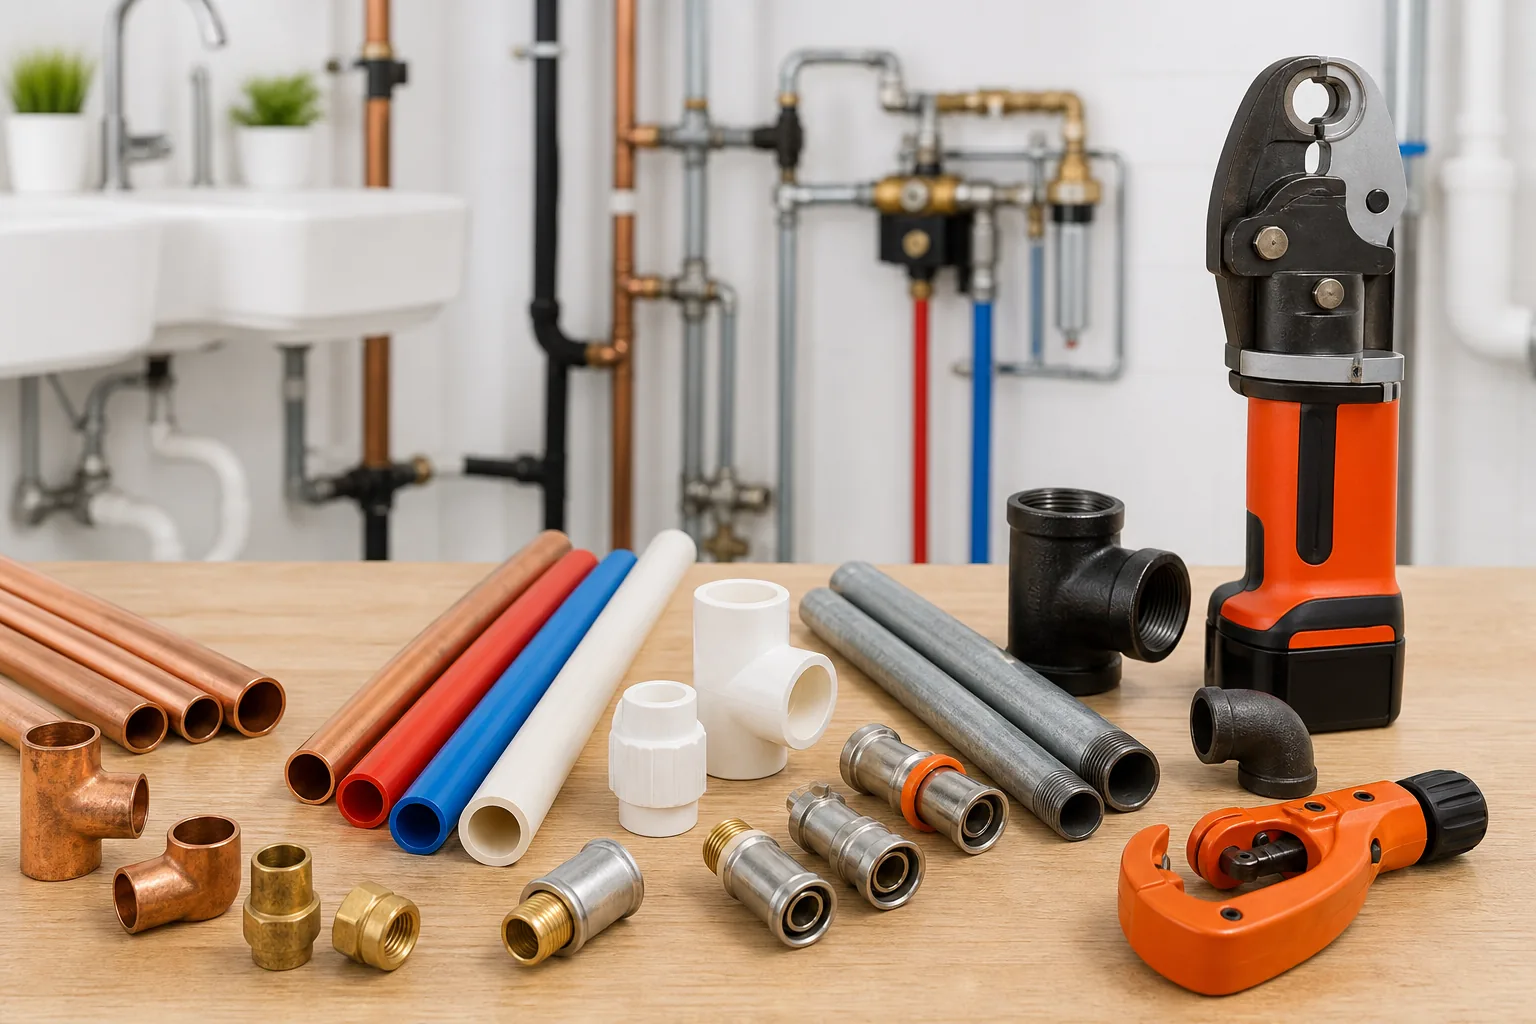
When in doubt, expose only what you can safely inspect. A repair that hides corrosion or leaves a fitting under strain may stop today’s drip and cause tomorrow’s leak.
Step 4: Use the Right Tools and Follow No-Flame Safety Practices
Good tools make pipe leak repair safer, but they do not replace sound judgment. Gather the tools before cutting so the line does not stay open longer than needed.
For a basic repair, you may need:
Basic cleanup and visibility supplies.
A tubing cutter or pipe cutter suited to the material.
Sandpaper, emery cloth, or a wire brush.
A deburring tool or file.
An adjustable wrench and pipe-compatible connection materials.
Gloves and eye protection.
Soldering adds a torch, flux, plumbing solder, and additional fire-safety precautions. Remove nearby combustibles. Keep a clear view of the flame and never heat a pipe hidden behind wood or insulation without protecting the area.
Press-fit work avoids an open flame, which can help in tight spaces and above finished ceilings. But press-fit equipment can be costly and heavy. Use the correct jaw for the fitting size. Inspect the finished connection before covering it.
Do not solder a line that still holds water. Drain it from a low point and allow trapped water to leave. If you cannot drain the line, a no-flame connection may be safer, provided the fitting and pipe are compatible.
Stop work if the pipe moves when you cut it, the wall cavity is wet, mold is widespread, or the leak is near electrical equipment. Turn off power to a wet area only if you can do so safely without standing in water. Otherwise, leave the area and get qualified help.
Step 5: Test the Repair and Know When to Call Primewest Plumbing in Orange County
Testing is the last part of pipe leak repair. Close nearby faucets, restore water pressure slowly, and watch the repaired area. Do not open the main valve all the way at once.
Use a dry cloth around the fitting. It will show a small seep that may be hard to see on a shiny pipe. Check again after several minutes, then run the nearby fixture and inspect the repair under normal flow.
If the repair is behind a wall or under a floor, look for a returning stain, soft surface, musty odor, or unexplained meter movement. A hidden leak may continue even when the visible drip has stopped. Primewest Plumbing’s leak detection service is a better next step when the source cannot be confirmed from an exposed pipe.
Call a professional before attempting the repair when:
The main valve will not shut off.
Water is spraying or flooding a room.
The leak is inside a wall, slab, ceiling, or buried line.
The pipe has several corroded spots.
You need soldering, specialized joining tools, or a gas-line repair.
The repair affects a rental property or commercial building.
Primewest Plumbing serves Orange County homeowners, landlords, property managers, and commercial facilities. Its service scope includes residential and commercial pipe leak detection and repair, with a focus on usable repairs and responsive service.
Rental units need extra care. Take photos, note when the leak began, and notify the property manager promptly. Document repair conditions and written requests .
Most importantly, do not treat a temporary patch as proof that the pipe is sound. If the same area leaks again, shut off the water and arrange a full diagnosis.
Pipe Leak Repair FAQ
Can I repair a leaking pipe myself?
You can handle a small, exposed leak if you can shut off the water and identify the pipe material. A temporary clamp or tape patch may limit damage. Permanent work needs the right fitting and safe access. Stop if the pipe is hidden, badly corroded, near wiring, or connected to a larger failed section.
How long does a temporary pipe patch last?
A temporary patch has no dependable service life. Its hold depends on pressure, temperature, pipe condition, surface prep, and the repair material. Check it often and plan a permanent replacement. If the patch becomes wet again, shut off the supply instead of adding more layers over the old repair.
What is the best way to fix a copper pipe leak?
The best fix is usually to remove the damaged copper and install a compatible replacement section. Soldered couplings can work when the pipe is dry and flame can be used safely. A properly installed push-fit or press-fit connection may suit a tight space or a no-flame repair.
How do I find a leak behind a wall?
Start by checking the water meter with all fixtures off, then look for stains, soft drywall, mold, or sounds inside the wall. A hidden leak may sit far from the visible damage. If you cannot trace it without cutting, use professional leak detection before opening the wall.
When should I call a plumber for a pipe leak?
Call a plumber when water is spreading, the shutoff fails, the leak is hidden, or the pipe has widespread corrosion. Professional help also makes sense for slab leaks, buried lines, commercial buildings, and repairs that need soldering or press equipment. Primewest Plumbing can assess the source and repair path in Orange County.
Conclusion
Shut off the water first, use a temporary patch only to limit damage, and match the permanent repair to the pipe material. If the source is hidden or the line is badly damaged, contact Primewest Plumbing for leak detection and a repair plan before water reaches the wall, floor, or ceiling.


Comments