


How to Fix a Leaky Faucet: Step-by-Step

A dripping faucet can turn a small worn part into a steady waste of water. The fix often comes down to finding the leaking side, shutting off the supply, and replacing the right seal or cartridge. Most guides keep the job short, but many skip the tools and parts you need. Follow these steps before you make a hardware store run.
Table of Contents
Step 1: Identify the Leak and Shut Off the Water
Start by finding where the water comes from. A leak from the spout usually points to a worn washer, valve seat, cartridge, or internal seal. Water around the handle often points to an O-ring or packing seal. A leak around the base can mean the seals around the faucet body have worn out.
For a two-handle faucet, test one side at a time. Turn off the hot-water valve below the sink, then watch the drip. If it continues, turn the hot valve back on and shut off the cold valve. The side that stops the leak is the side that needs repair.
Turn each shut-off valve clockwise until it stops. Open the faucet for a moment to release pressure from the line. If an under-sink valve is stuck, corroded, or starts leaking as you turn it, stop. Use the home's main shut-off valve instead, then arrange professional service.
Put a towel under the connections. Close the drain or cover it with a rag. Small screws and springs are easy to lose. A covered drain also keeps loose parts from falling into the trap.
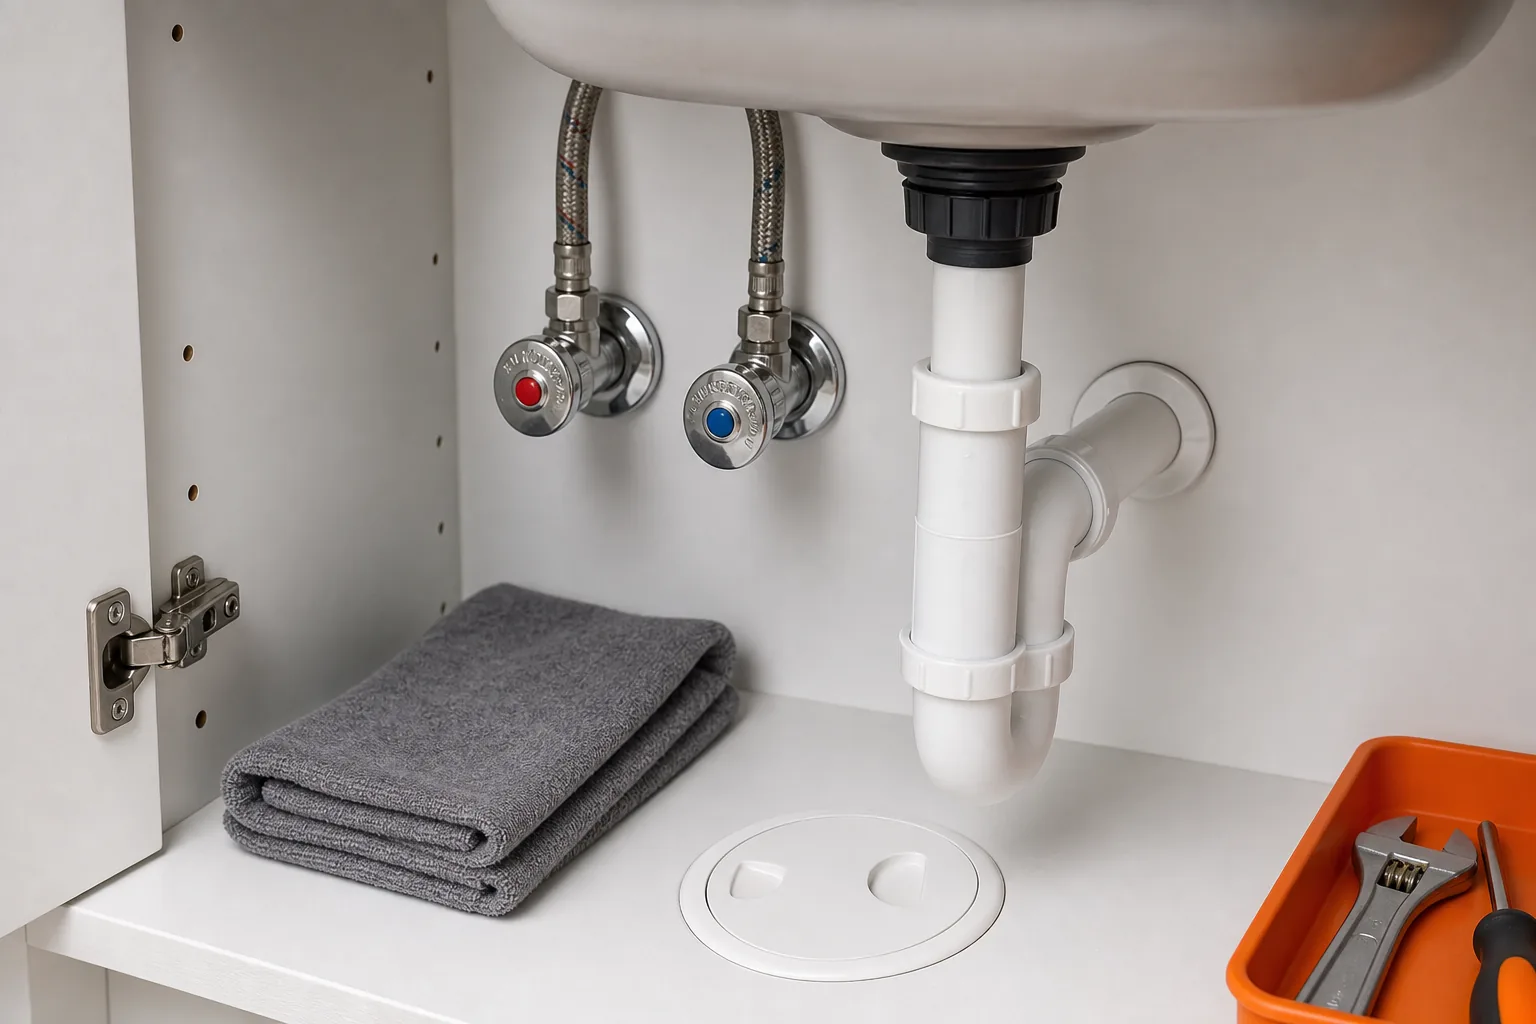
A quick shut-off matters even when the leak seems minor. A small drip can waste water over time, while a failed valve or loose connection can release much more. The leak detection and repipe service from Primewest Plumbing is a better next step when moisture appears inside a wall, cabinet, or ceiling instead of only at the faucet.
Key Takeaway:Test hot and cold separately, then shut off the leaking side before removing any faucet parts.
Step 2: Gather Tools, Remove the Handle, and Access the Faucet Parts
To fix a leaky faucet, gather the tools before you take it apart. The exact set depends on the faucet, but most repairs need a flat screwdriver, Phillips screwdriver, or Allen key. Keep an adjustable wrench and needle-nose pliers close by. A small pick can help lift a washer or spring from a deep opening.
Flat or Phillips screwdriver
Allen key or hex wrench
Adjustable wrench or channel-lock pliers
Needle-nose pliers or a small pick
Replacement washer, O-ring, spring, or cartridge
Waterproof silicone or plumber's grease
Towel, rag, and a small dish for loose parts
Only use tools that fit the fastener. A loose screwdriver can damage the screw head. Wrap a wrench jaw with a thin cloth if the faucet finish scratches easily.
Remove the decorative cap first if the handle has one. Then loosen the handle screw or set screw and lift the handle straight up. Place each part in order on a towel. Take a photo before you remove the cartridge or stem. That small step can save time when the handle orientation is unclear.
Next, loosen the packing nut, retaining nut, or bonnet nut. Pull out the stem or cartridge with care. Some parts lift out by hand. Others need pliers, but grip only the solid metal section. Avoid crushing the cartridge or scratching the faucet body.
Research across repair guides found that only 9 of 21 extracted steps named a required tool. That leaves many do-it-yourself repairs short of the wrench or pliers needed for the next move. A repair checklist also treats the shut-off, drain protection, disassembly, and inspection as separate parts of the job, rather than one vague instruction to “take it apart.” You can review that safety checklist for another safety checklist.
Keep the old part until you have a matching replacement. Faucet parts can look alike while having different sizes or shapes. If the cartridge has a brand mark or model number, write it down. If you can take the old part to a plumbing supply counter, do that instead of guessing.
Step 3: Replace the Worn Washer, O-Ring, Spring, or Cartridge
Once the faucet is open, match the repair to the faucet type. The part that stops water flow differs between a compression faucet, ball faucet, cartridge faucet, and ceramic-disc faucet. Look for cracks, flattening, scratches, mineral buildup, or a brittle rubber edge.
Compression and two-handle faucets
A compression faucet often uses a washer at the end of the stem. Remove the retaining screw, lift off the old washer, and fit the new washer in the same position. If the valve seat below it is rough or damaged, the new washer may leak again. A specialized tool may be needed for that repair.
Some two-handle faucets use a small spring below a rubber seat. Use needle-nose pliers or a pick to lift both pieces out. Check the spring's direction before removal. The tapered end usually sits against the rubber seat. Fit the new spring and seat into the opening, then press them gently until the seat moves up and down.
Cartridge, ball, and ceramic-disc faucets
Cartridge faucets usually need a new cartridge when the internal seals wear out. Remove the retaining clip or nut, pull out the old cartridge, and line up the new one with the faucet body. Do not force it. If it does not slide into place, check the alignment tabs.
Ball faucets can leak at the spout or around the base. A spout leak may need new seats, springs, or a ball. A base leak often points to worn O-rings beneath the spout. Ceramic-disc faucets usually use a cylinder assembly. If the cylinder is damaged, replacement is often safer than trying to repair the discs.
Clean mineral deposits from reusable parts with white vinegar and a soft cloth. For a stuck aerator, wrap it with a vinegar-soaked towel and wait before using pliers. Do not squeeze hard enough to bend the aerator. Rinse it before putting it back.
Apply a thin film of waterproof plumber's grease to rubber O-rings and seats. Grease helps the rubber slide into place without twisting. It does not fix a cracked seal, and too much grease can collect grit.
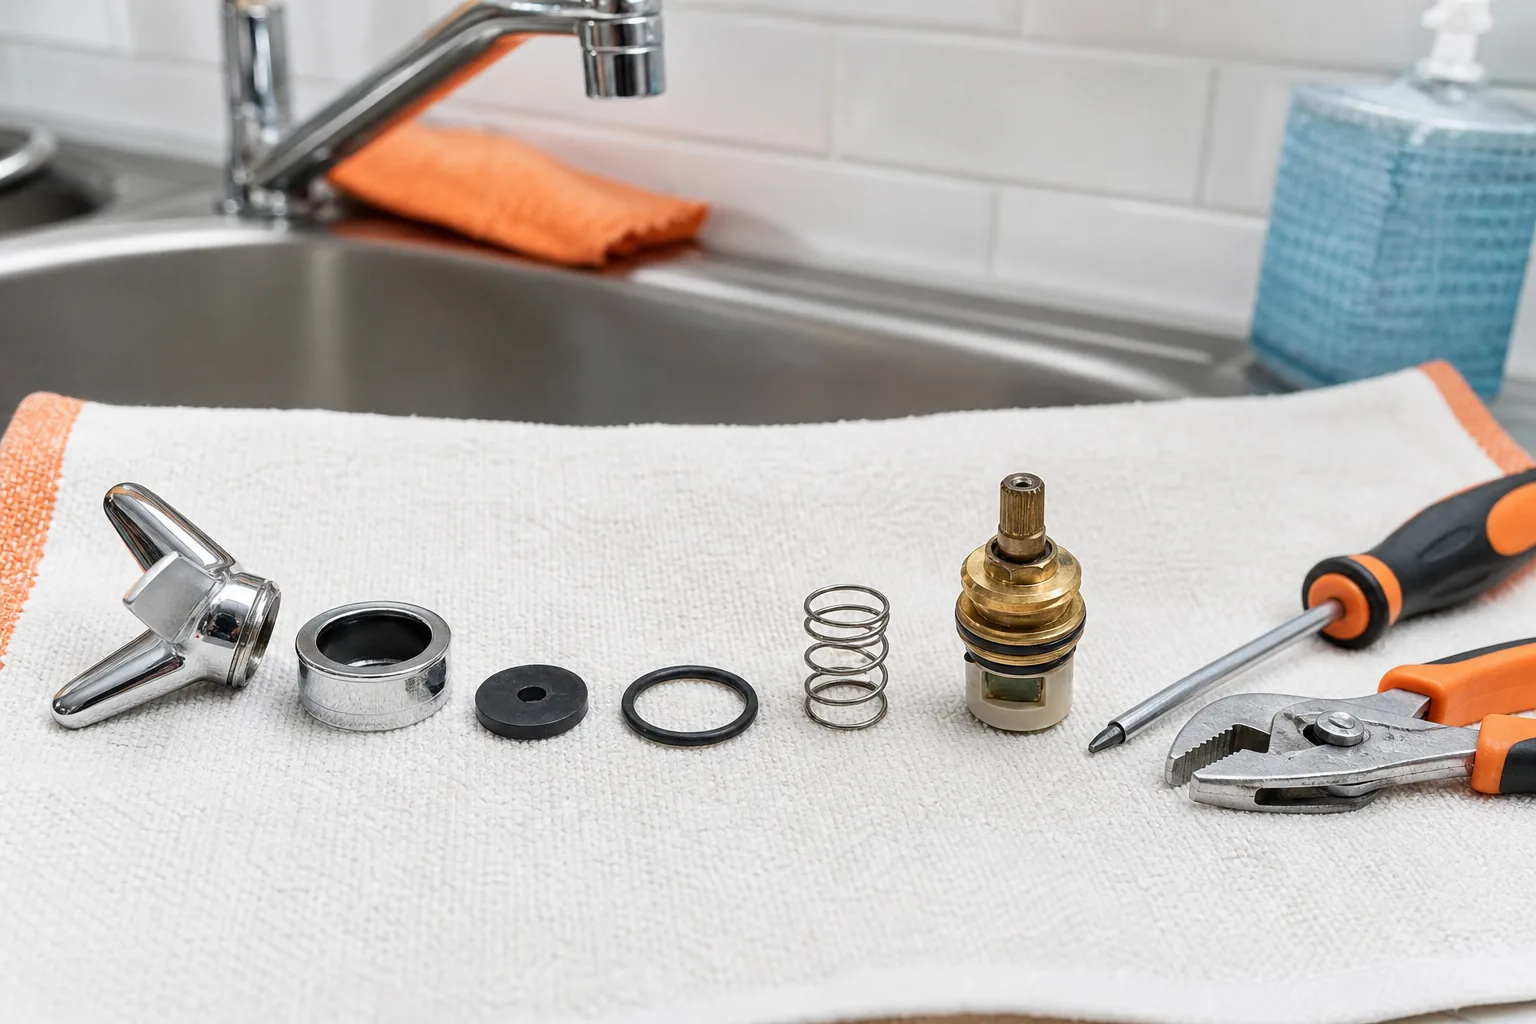
The correct part still depends on the faucet design. When you cannot identify the part, Primewest Plumbing can handle faucet repair without making you buy several possible kits.
Step 4: Reassemble, Test the Repair, and Know When to Call a Plumber
Reassemble the faucet in the reverse order. Set the stem, cartridge, ball, or cylinder into its original position. Make sure tabs, notches, and holes line up before you tighten the retaining nut.
Start each threaded nut by hand. If the threads feel rough, turn the nut backward slightly until they seat, then tighten it forward. Use a wrench only after the nut is snug by hand. Stop when it is firm. Over-tightening can damage the cartridge, strip threads, or squeeze an O-ring out of place.
Put the handle back on and tighten its screw or set screw. Keep the aerator off for the first test. Slowly open the shut-off valve. Watch below the sink while water enters the faucet. Then turn the handle on and let water run for a few minutes. This can flush out loose grit before you reinstall the aerator.
Close the handle and check three spots: the spout, the handle, and the base. Dry the connections with a paper towel. Wait several minutes, then check again. A dry towel is better than a quick glance because a slow leak may not leave a visible puddle.
If the faucet still drips, shut off the water and check the part's direction. Confirm that the replacement matches the old part. Look for a damaged valve seat, scratched cartridge opening, cracked faucet body, or loose supply connection.
Call Primewest Plumbing when the shut-off valve is corroded, the leak is inside a wall, the faucet body is cracked, or the repair needs repeated attempts. Orange County homeowners in Capistrano Beach can also use Primewest Plumbing's local plumbing service when a faucet problem points to a wider fixture or supply-line issue.
Repair may not be the best choice when the faucet has several failing parts, severe corrosion, or damage that prevents a proper seal. If you are unsure, leave the water off until the cause is clear. A small service visit is usually less disruptive than water damage under the sink.
For a slow drain caused by debris or a dropped part, avoid pushing objects deeper into the trap. The right fix depends on the blockage, which is why Orange County clogged drain repair guidance can help you choose between a basic cleanout and professional drain service.
Pro Tip:After the repair, place a dry paper towel beneath the supply connections and check it again later. It will reveal a slow seep before cabinet damage begins.
FAQ
How do I know which side of my faucet is leaking?
Shut off the hot-water valve first and watch the drip. If it continues, reopen the hot valve and shut off the cold valve. The side that stops the drip is the leaking side. This test is a key part of learning how to fix a leaky faucet because it prevents you from replacing parts on the wrong handle.
What tools do I need to fix a leaky faucet?
You may need a screwdriver, Allen key, adjustable wrench, needle-nose pliers, and a small pick. Keep a towel, drain cover, replacement seal, and plumber's grease nearby. The exact tool depends on the faucet. Check the fastener before starting so you do not damage a screw with the wrong driver.
Should I replace the washer or the whole cartridge?
Replace the washer when the faucet uses a removable washer and the rest of the stem is in good shape. Replace the cartridge when its seals are worn or the cartridge body is damaged. Cartridge and ceramic-disc faucets often need the full cartridge or cylinder. Match the replacement to the old part or faucet model.
Why does my faucet still leak after I replace the washer?
A faucet can still leak after a washer replacement if the valve seat is damaged, the washer is the wrong size, or the spring is misplaced. A scratched cartridge opening can also prevent a seal. Shut off the water again, inspect the parts, and check that the retaining nut is snug rather than over-tightened.
When should I stop trying to fix a leaky faucet?
Stop when the shut-off valve is stuck or corroded, water is entering a wall or cabinet, or the faucet body has a crack. You should also stop after a second failed repair attempt. Primewest Plumbing can inspect the fixture and supply connections, then recommend repair or replacement based on the actual fault.
Conclusion
Most faucet leaks are worth checking before you replace the fixture. Identify the leaking side, match the worn part carefully, and test the repair with the water turned on slowly. If the valve is damaged or the leak goes beyond the faucet, contact Primewest Plumbing for faucet repair in Orange County.


Comments